What better way to make a return customer feel appreciated than a birthday present? In this tutorial, we will demonstrate how to use Magento 2 Enterprise Edition to create a special banner that will display during the birth month of a logged-in user. The banner can be combined with promotions to, for example, offer a special discount code.
Our goal is to place a banner on the Magento store that displays only during the user’s birth month. This is a multi-step process in Magento 2:
- We need to create a customer attribute to identify each user’s birth month.
- We need to create customer segments to determine who should see the banner.
- We need to create a banner with appropriate content.
- We need to create a widget that determines where the banner will be displayed.
THE ATTRIBUTE
A Customer Attribute is a category assigned to a customer, typically when his or her account is created. To create an attribute that will identify the customer’s birthday month, we will navigate in the Magento 2 Admin to Stores » Attributes » Customer and select Add New Attribute.
Now we will define the attribute’s properties:
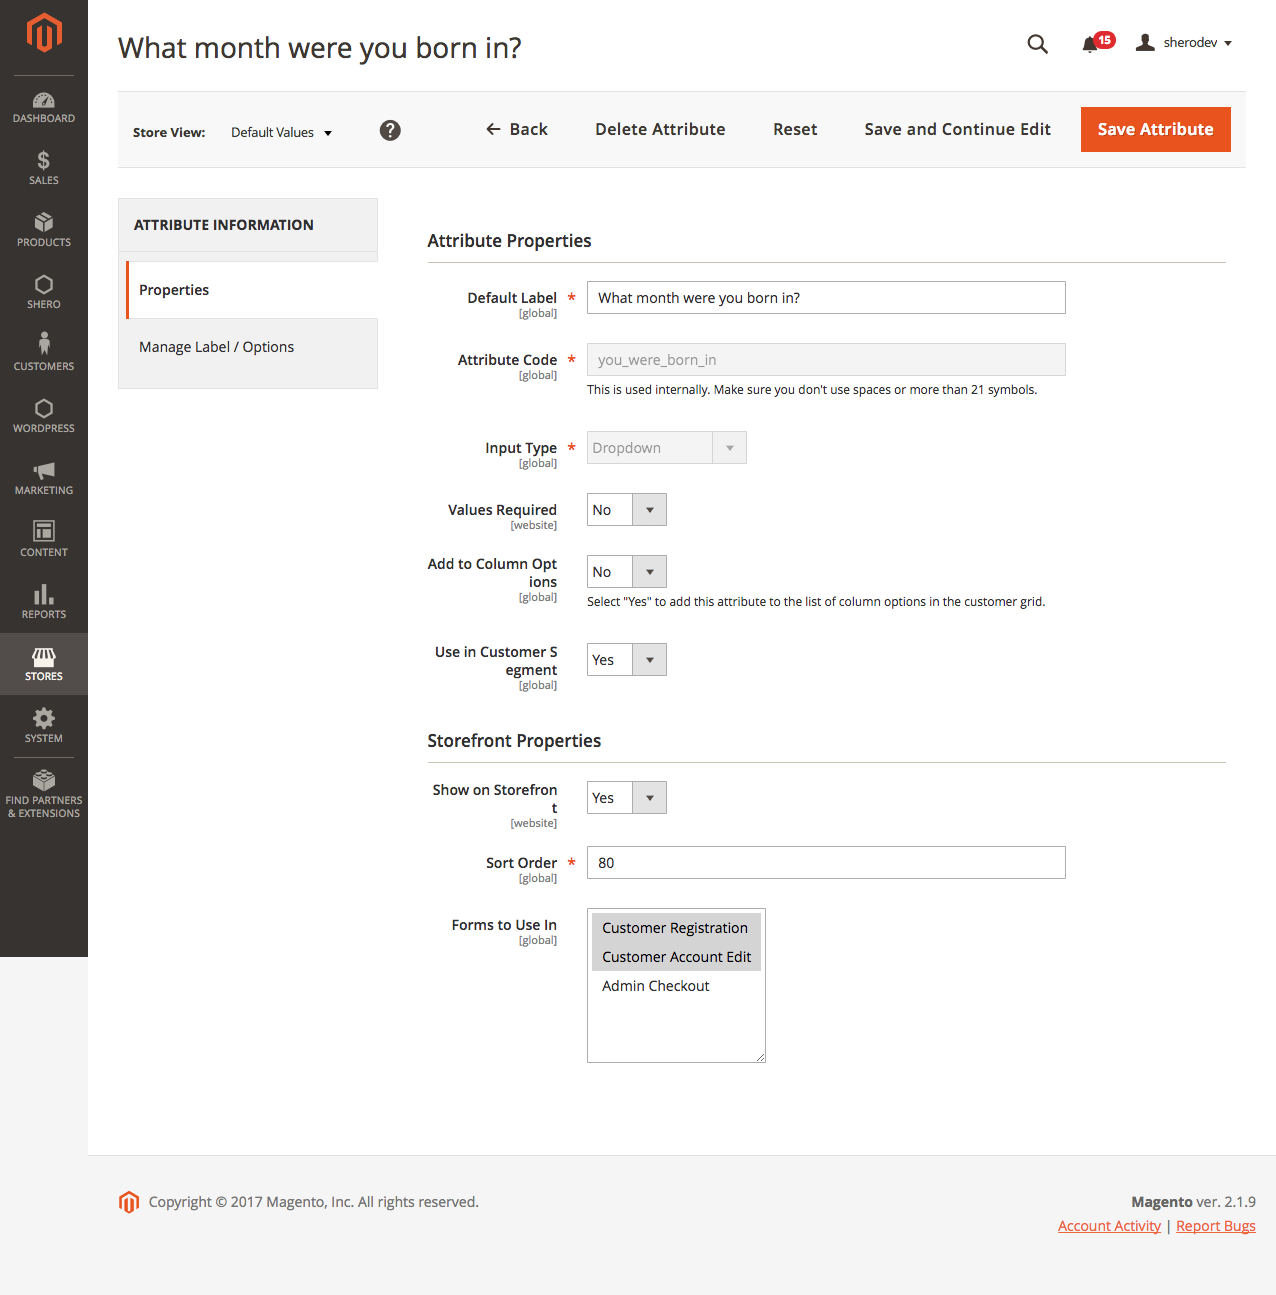
The following properties will be important:
- The Input Type should be Dropdown.
- Use in Customer Segment should be set to Yes.
- The attribute should appear in both Customer Registration and Customer Account Edit.
Next, we will define the attribute’s options. These are the choices that will appear in the drop-down:
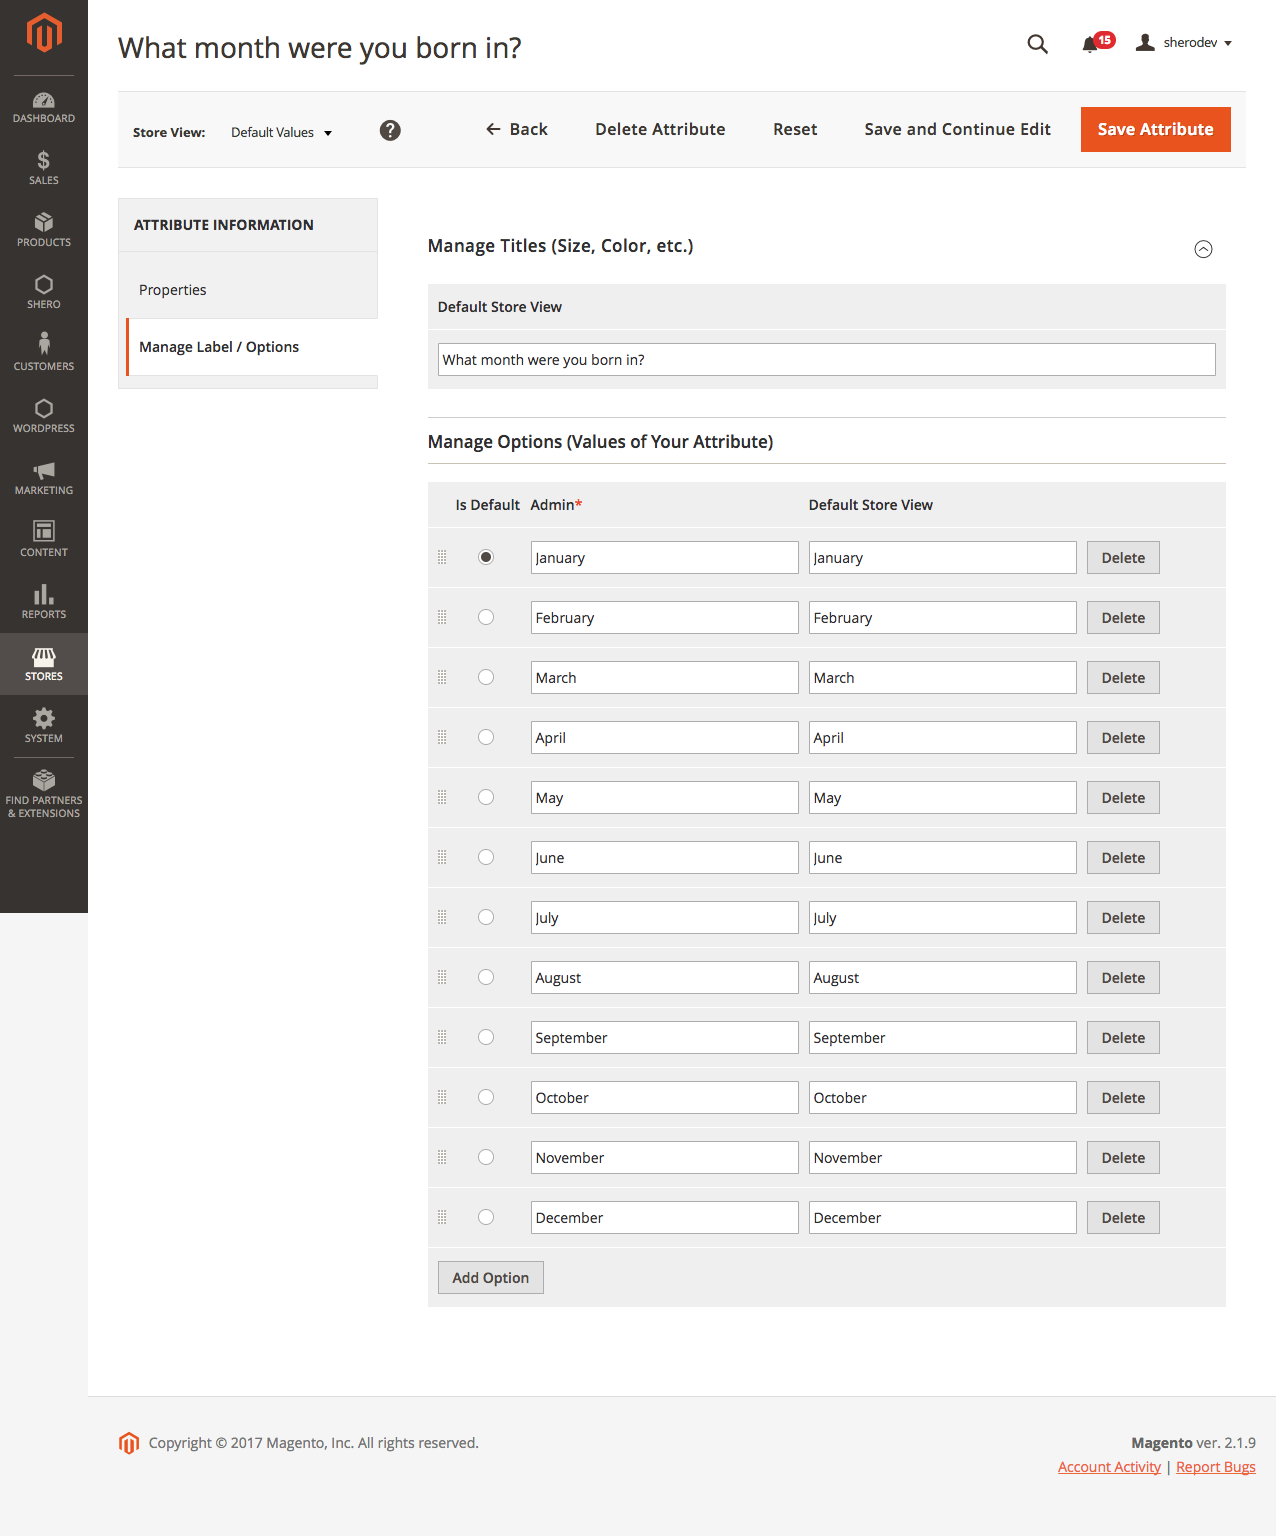
As you can see, we are creating one option for each month of the year. When finished, we select Save Attribute.
THE SEGMENTS
A Segment is a group of customers with accounts that meet particular criteria. Segmentation is managed in Admin » Customers » Segments.
We continue by adding a New Segment. This segment will contain users that were born in the month of September.
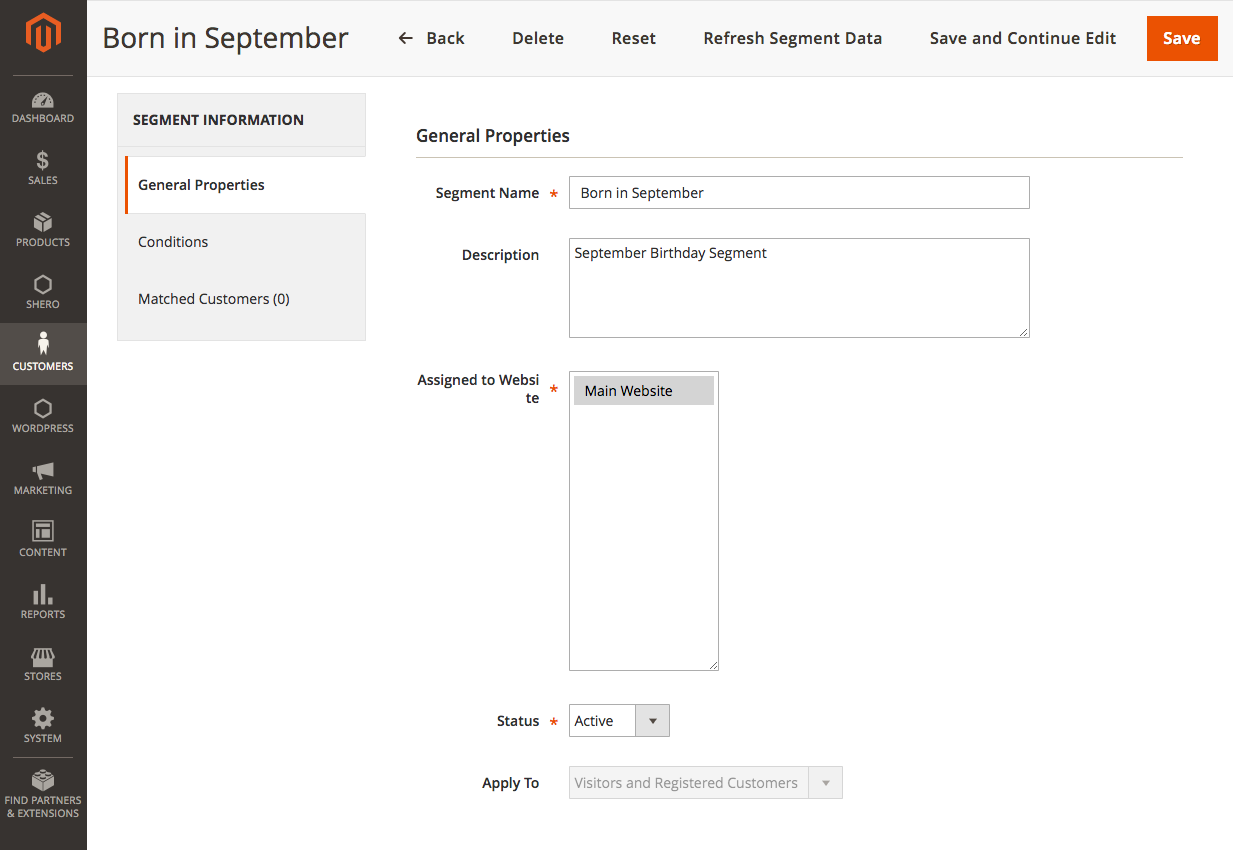
After adding general properties such as the segment’s name and description, we Save and Continue Edit so that Conditions can be applied.
In the Conditions tab, we associate the segment with customers who answer the Customer Attribute question of What month were you born in? with “September.”

Now we can either Refresh Segment Data to see how many customers this segment currently applies to, or we can Save and continue to the next step.
A similar segment will need to be created for every other month.
THE BANNERS
Banners are defined in Admin » Content » Banners. There, we select Add Banner.
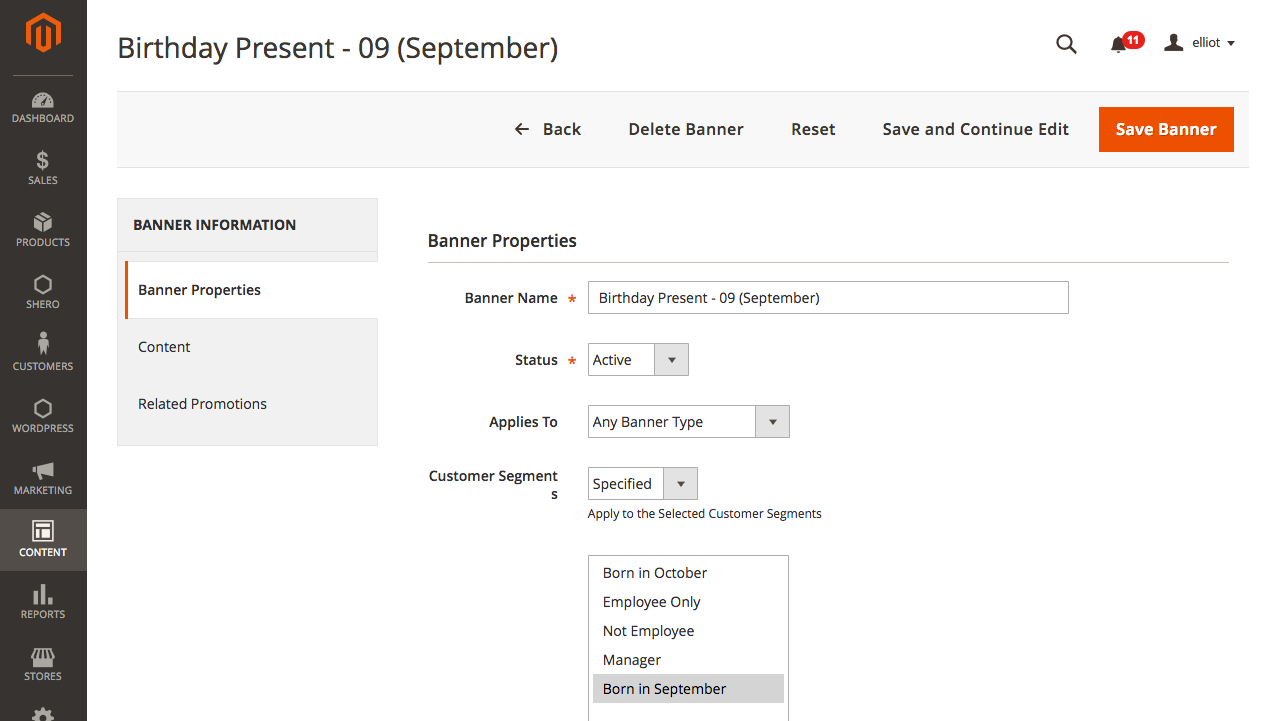
In the Banner Properties tab, we give the banner an identifiable name. This banner will only be visible to users born in the month of September, so under Customer Segment we select Specified and choose the Born in September segment we’ve created from the list of segments:
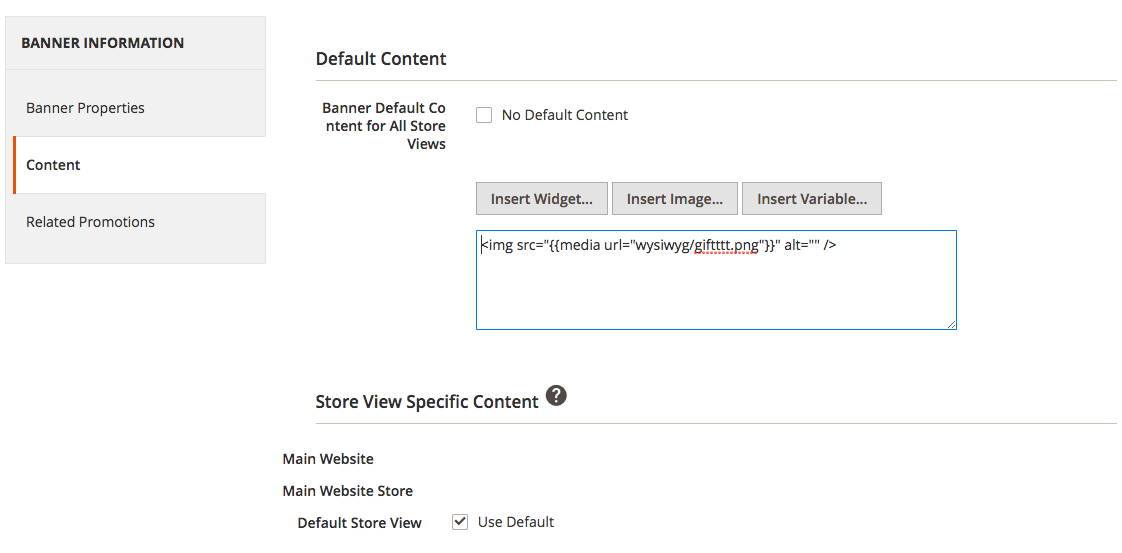
In the Content tab we define the content for the banner. In this case, we will simply include an image file from the media directory.
In the Related Promotions tab, the banner can be associated with a price rule—for example, a $10 discount at checkout.
THE WIDGET
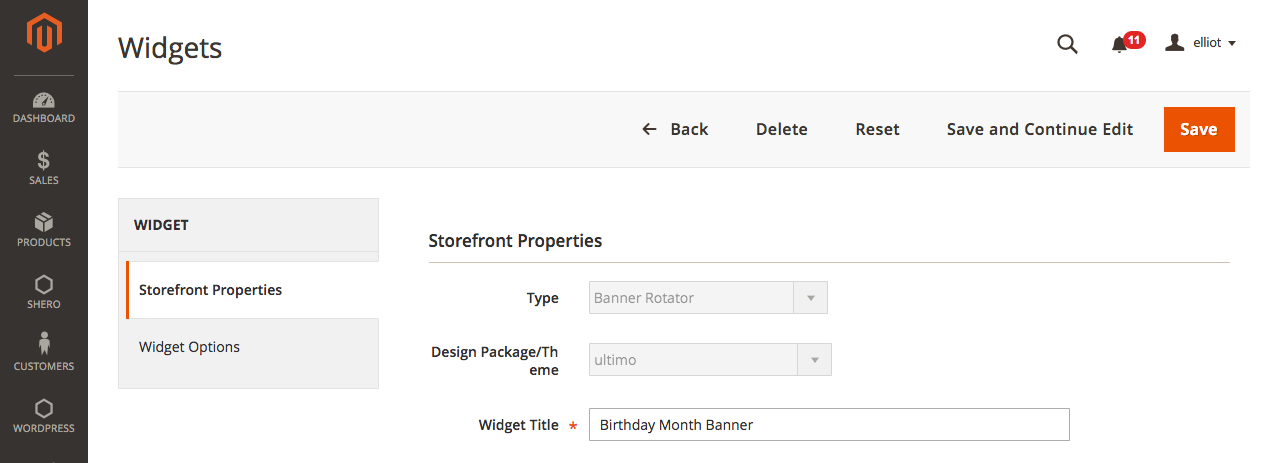
Widgets are used to define conditions for the display of special content. They are managed in Admin » Content » Widgets.
For this widget, we will define the Type as Banner Rotator.
Under Design Package/Theme, it is important to define the current theme; otherwise the banner will not display.
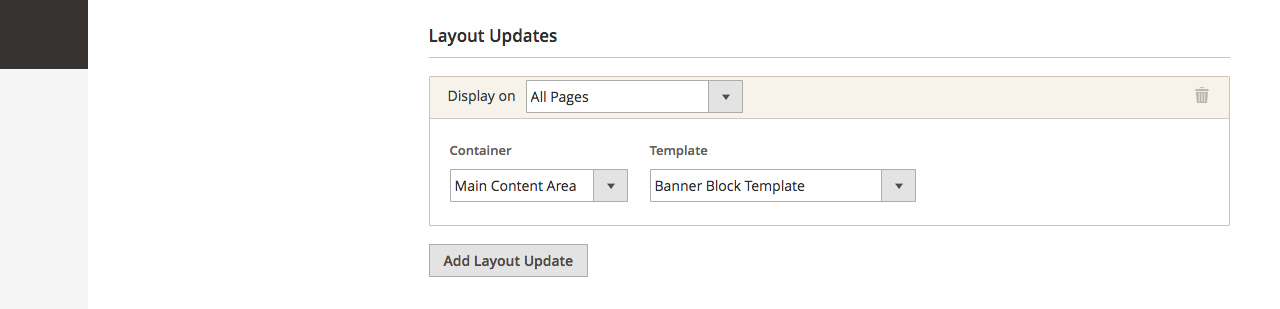
Next, we will define one or more areas of the site in which the banner will be displayed. Each Layout Update includes a page (such as CMS page, product or category) and an area within the page to display the banner (such as header or sidebar):
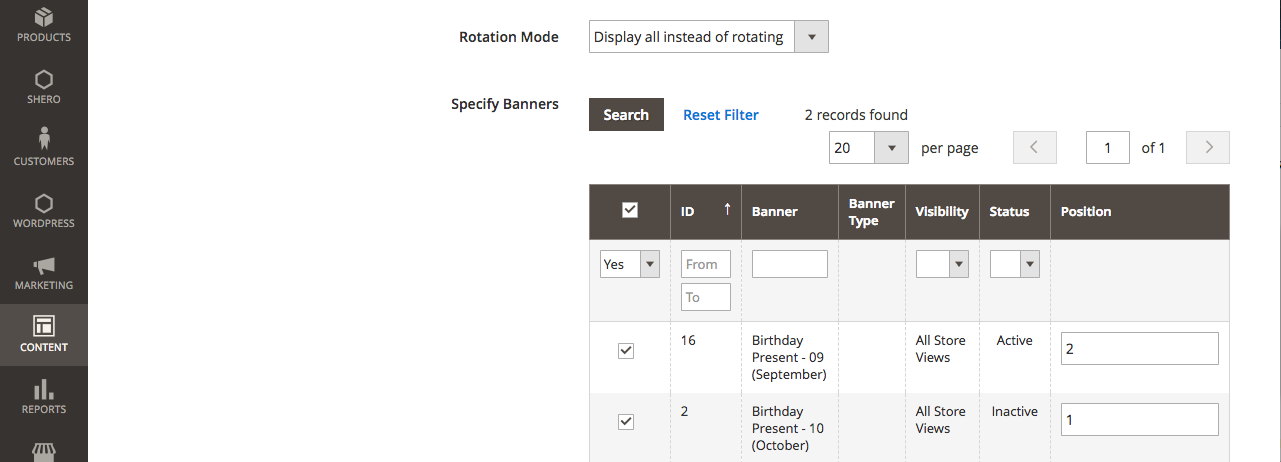
In the Widget Options tab, we will instruct the widget to display only Specified Banners.

Next, we select the Rotation Mode. We will select Display all instead of rotating for reasons that will be explained shortly.
Now we specify which banners are displayed by this widget. We have created twelve segments (one for each month) and 12 banners (one for each segment), but we will use a single widget to display all of them. To do this, we select all 12 of the Birthday Month banners:
After saving the widget, we return to Admin » Content » Banners.
For this to work, we want only one banner to appear at a time—the banner appropriate to the current month. So if the current month is September, we will make sure that only the September banner has an Active status. The other 11 are Inactive.
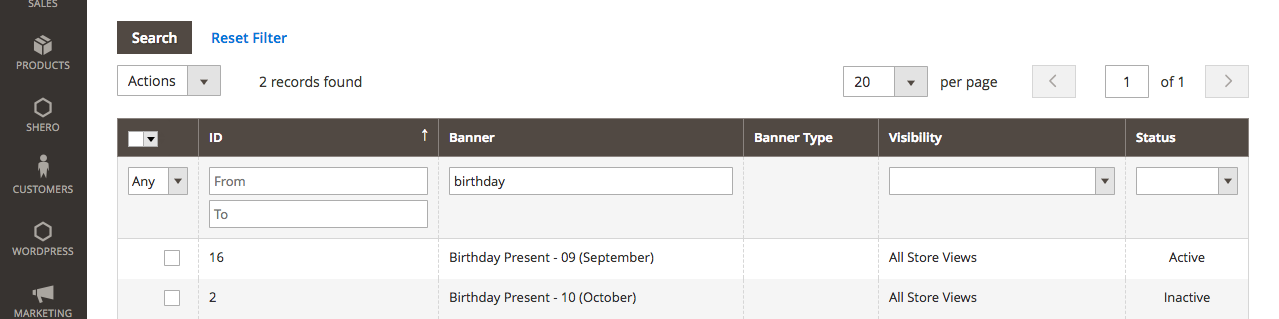
Now, the following rules apply to the banners:
- The banner location is defined by the widget.
- The banner only appears to logged-in users with birthdays in September because of the segment.
- Only the banner with the status of Active will display.
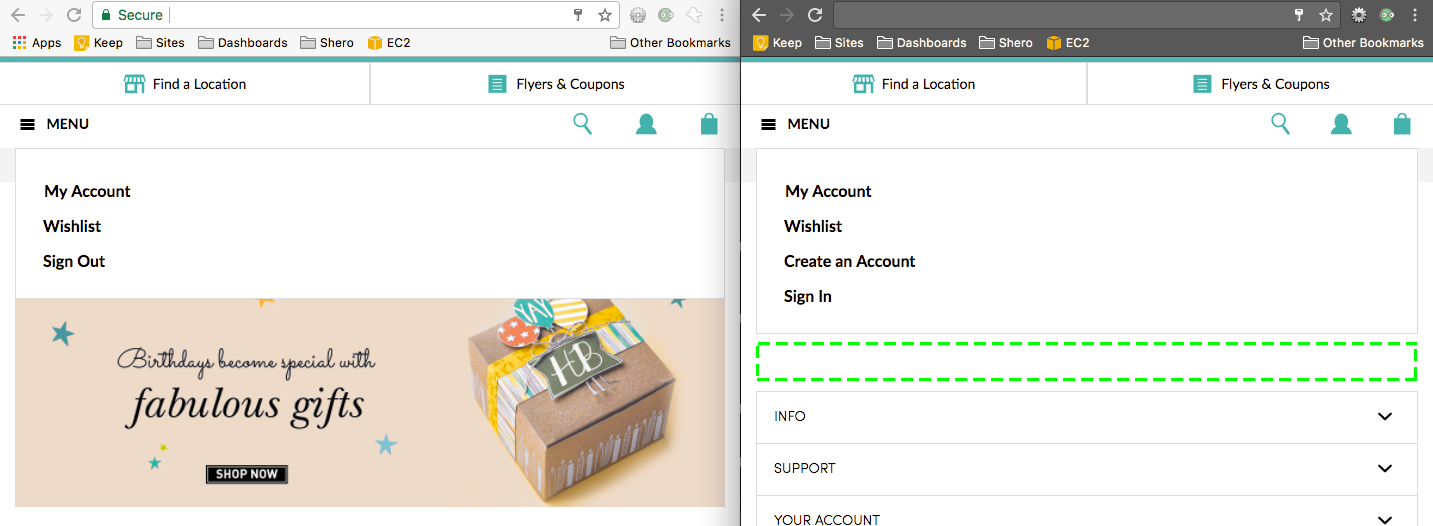
With these rules in place, a logged-in user with a September birthday will see the banner in its specified location. The banner will be hidden to all other users.
Once these rules are in place, the only upkeep required will be:
- To update the content of the banners as desired
- To make the current month’s banner Active and the previous month’s banner Inactive at the beginning of each month.
Customer Success Manager