Private Sales in Magento Enterprise give two very useful features: The first, creating Invitations to create an account. These can be sent out in an emails and can be further configured to allow only those who receive an invitation to create an account.
The second is Events which is a sales based restriction period from one date to another. For example, From July 1st to July 4th one could define a special 4th of July Sale.
Requirements for Private Sales
To begin with invitations, you must enable Invitations under System -> Configuration -> Invitations.
Under the “General Tab” – you must set “Enable Invitations Functionality” to Yes.
Next, “Referred Customer Group” is the group that an invitee will have. For this, if you chose “Same as Inviter” the group that a invitee will join is the same as the customers who invited them.
If you chose “Default Customer Group from System Configuration” they will join the default group that is defined in the configuration settings.
Then, “New Accounts Registration” in our case will be set to “By Invitation Only”. This means that only those who are specifically invited may be part of the Private Sales and there will not be a create an account on the store.
The other option is “Available to All” which will allow anyone to create an account.
The next option is “Allow Customers to Add Custom Messages to Invitation Email” – this just allows the Inviter to add a custom message to the email.
The final option “Max Invitations Allowed to be Sent at One Time” defines how many invitations may be sent in one go.
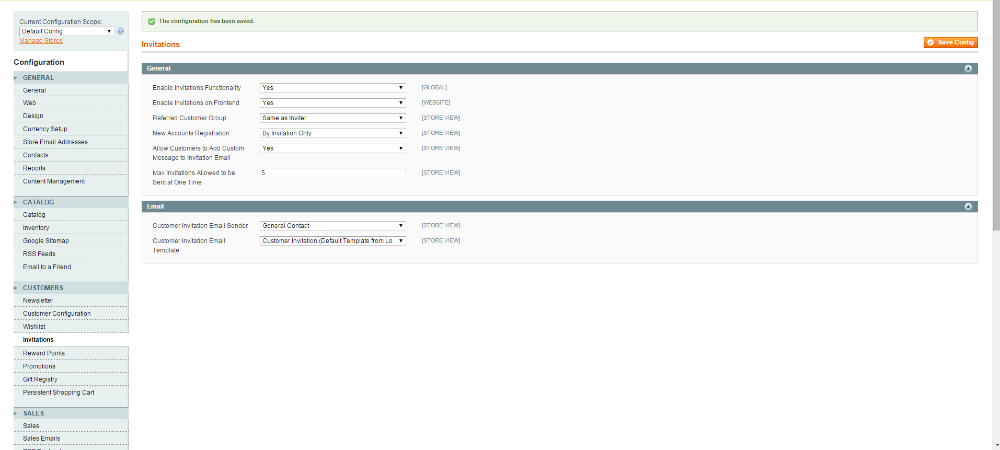
One last setting not mentioned is “Invitations Frontend”. We have this set to “Yes” which allows customers to send and view invitations under “My Account” page under their account. It will also show that status of each invitation that they have sent.
Under the “Email” tab – Customer Invitation Email Sender defines who sends the email. For this, we will use “General Contact”.
Finally, “Customer Invitation Email Template” defines which email template to use for sending out the invitations. Email templates can be configured under System -> Transnational Emails.
Administering the Invitations
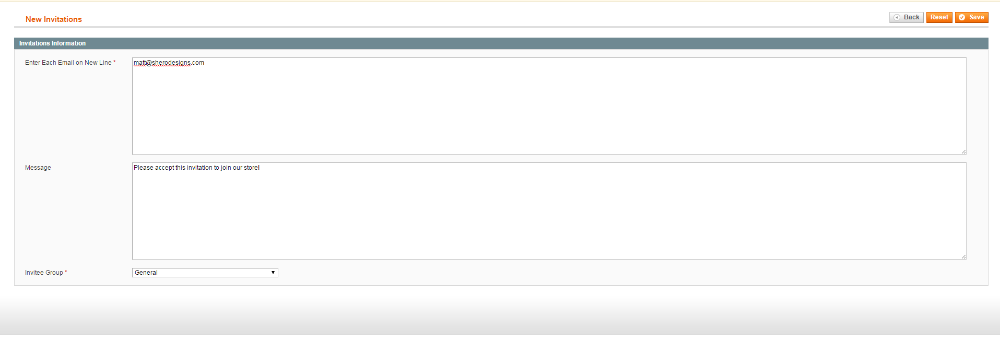
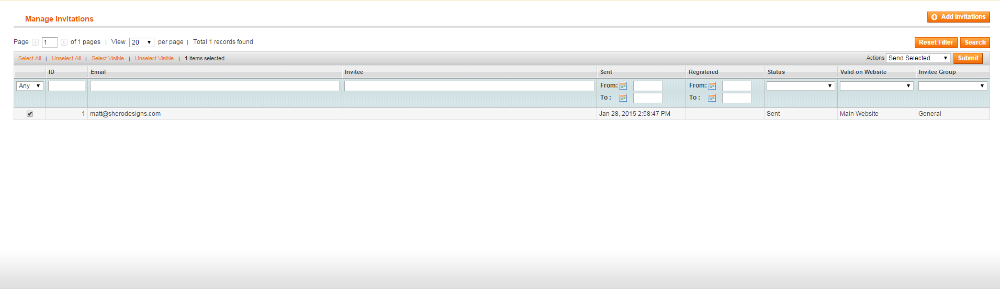
To create an Invitation from Admin go to Customers -> Invitations. This will also show all invitations sent out. Then click “Add Invitations”.
From here, fill out the emails to send the invitation to, a message and the Invitee Group. This group is important because it is the group that the invitee will join if they create an account. Click Save.
You can also send invitations if they have not been sent by selecting the invitations you wish to send, then changing the Action to “Send Selected” in the upper right of the grid.
Invitation Reports
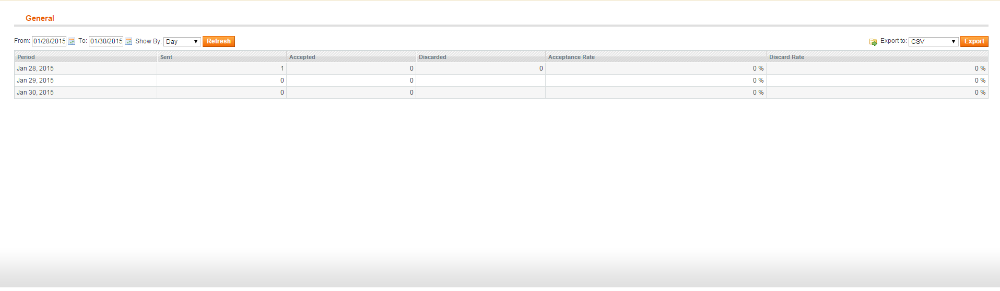
Navigate to Reports -> Invitations -> General. There are many options for seeing your invitations.
The Customers tab, for example, will show those invitations sent by customers. This tab (General) will allow you to define a date range and then click “Refresh” view all invitations sent. “Order Conversion Rate” will show the order conversation rate. This shows how many invitations were sent out, how many accounts created, and how many orders placed by those accounts.
Enabling Events for Private Sales
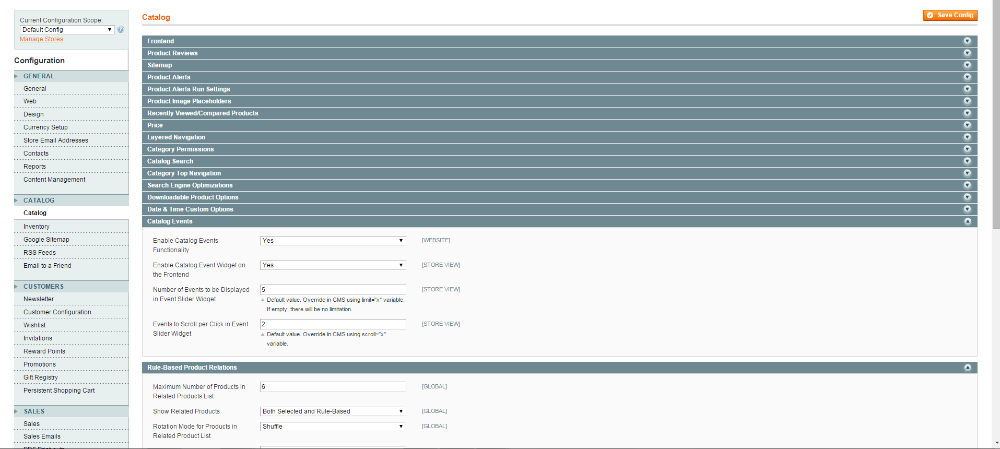
Since we are using Events with our Private Sales, we must also enable them. Navigate to System -> Configuration -> Catalog.
You will want to select “Catalog Events” from the menu that appears. Set “Enable Catalog Events Functionality” to Yes.
Setting “Enable Catalog Event Widget on Frontend” Will show event information about your store on the Frontend.
Number of Events to be Displayed in Event Slider Widget lets you customize how many events are shown.
Events to Scroll per Click in Event Slider Widget defines how many events will be scrolled per click on the Event Widget.
To manage events, navigate to Catalog -> Categories -> Catalog Events.
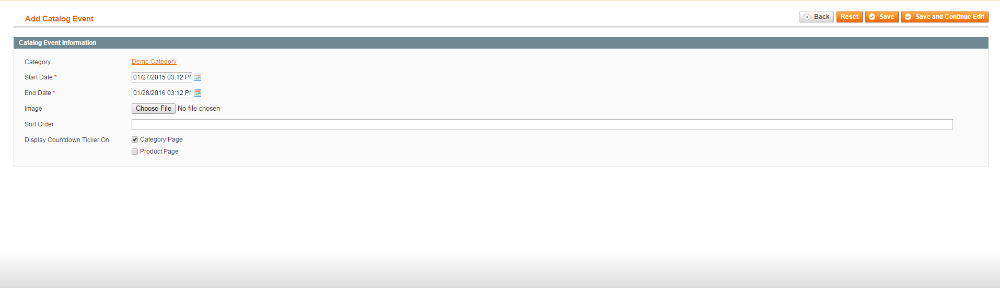
Click Add Catalog Event.
Select the Category you want this event to apply for, in our case we chose Demo Category. In our case, we want the event to go from 1/27/2015 to 1/28/2016.
Sort Order defines the order that the event will show. You can also choose to enable the “Display Countdown Ticker On” option if you wish to have the event countdown clock displayed on the Event Widget (if enabled). Click Save.
A note on Sorting: Open Events are shown first on the Frontend. The next ranking is “Start Date” (Defined when you created the event). If two events have the same start date, the sorting is defined by the sorting mentioned above. Upcoming events are shown after that.
A note on closed events/upcoming events: products in those categories will be displayed but the add to cart button will be disabled. In order to enable it, you will have to delete the event.
Creating the Private Sales
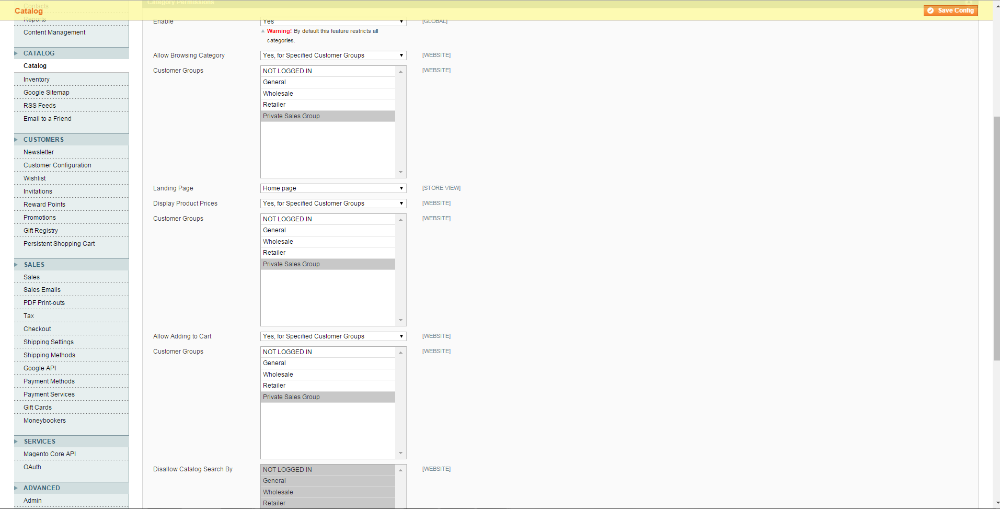
In order to create Private Sales, you are able to restrict certain categories on a customer group by customer group basis. To enable this functionality. Navigate to System -> Configuration -> Catalog.
Select “Category Permissions” tab. Set Enable to “Yes”. You can then set a few different options.
“Allow Browsing Category” to “No, Redirect to Landing Page” which denies this permission to all customer groups.
“Yes to All” gives the permission to all groups.
“Yes to specified customer groups” gives the permission to only certain customer groups. This is the option we will choose.
Landing Page option defines the place customers will go if they do not have enough permissions.
We will set “Display Product Prices” to “Yes for Specified Customers Groups”, here we will choose “Private Sales Group”.
Next, we will set “Allow Adding to Cart” to the same option.
For the final option “Disallow Catalog Search By” we select every group but “Private Sales Group”. Save the Config.
A note on this: you can choose to also set category based permissions. Keep in mind, that you may choose to do one, or the other, or both.
The above however, are default level settings. What one will decide to choose is up to their specific needs. I will briefly touch on category based permissions:
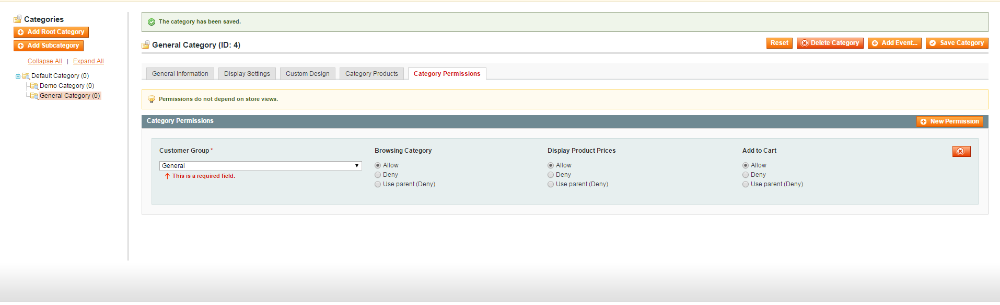
Navigate to Catalog -> Manage Categories.
Select the Category you wish to change. Then select the Category Permissions Tab. Click New Permission.
Select the Customer Group you wish to allow. In our case, we want to display the products and allow purchase for this category only to anyone who is in the General Members Group. Display Product Prices to “Allow”, Add to Cart to “Allow”.
A Note: We could choose “Browsing Category” as “Use Parent” to take the parent categories permissions. This is useful for child categories without having to change each individual category. Save Category.
Magento Development Lead