Displaying messages is an important way to communicate with your customers when they visit your magento store: a welcome message to greet customers; a success message to notify customers when they successfully submitted a form; an error message to inform customers if something goes wrong…Magento has many such messages ready for you to use, but sometimes, you may want to customize some of these default messages, so that they are unique for your store or they are more readable and easier to understand.
This article will show you how to edit the text of three types of Magento messages displayed on your store website.
- Welcome Message
Magento stores have default welcome messages on the top of each page.

To change the default welcome message, you’ll want to follow the steps below:
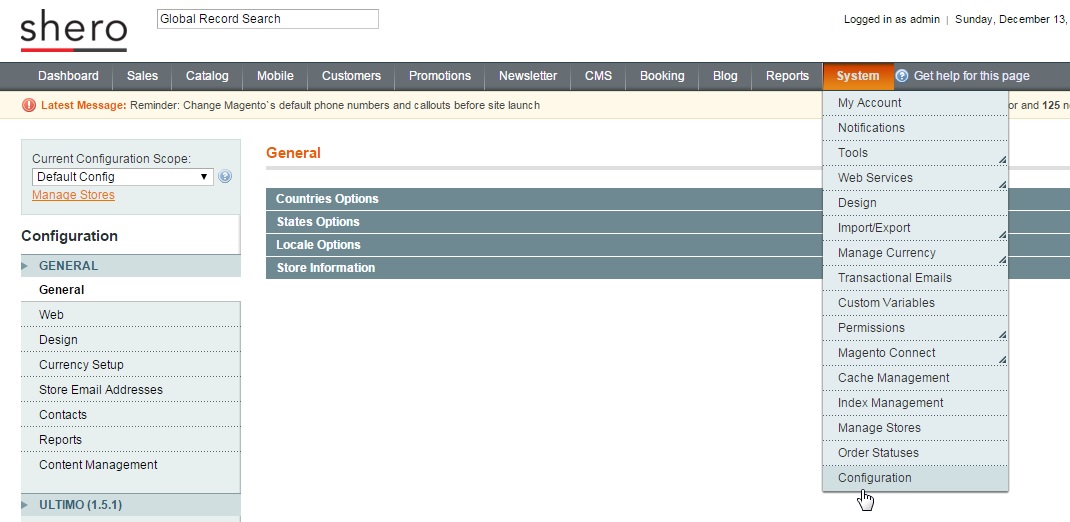
Step 1. Login to the magento admin panel, and then go to system → configuration
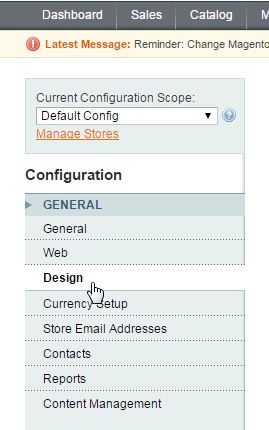
Step 2. Choose “Design” under the “General” heading.
Step 3. In the “Header” section you’ll find the “welcome text” field. Type in the message you want to display and click “save config”. Now your store welcome message is updated.
- Magento Flash Messages
Magento offers a notification system to display success, error, warning and notice messages. Changing the text of these messages can be done by simply using “translation”.
For example, this message will be displayed when you successfully submitting a product review:

To edit this text, go to app/locale/en_US (or whichever language you want to edit) folder, and look for the csv file related to the message you want to edit. In this case, we need to look in the file: Mage_Review.csv.
In the file, you’ll find this line:
“Your review has been accepted for moderation.”,”Your review has been accepted for moderation.”
You could update the text here by changing the line AFTER the comma to what you want to display. For instance, if you want your message to read “Thank you for submitting!”
You will change the line to read: “Your review has been accepted for moderation.”,”Thank you for submitting!”
But changes made directly to files in app/locale folder may get lost when you update magento. A proper way to do this is to create a new folder under your theme: app/design/frontend/packagexxx/themexxx/locale/en_US
Then create a new file in this folder: translate.csv
Add above line to this file. You may need to put the block name as a prefix. So the line is now:
“Mage_Review::Your review has been accepted for moderation.”,”Thank you for submitting!”
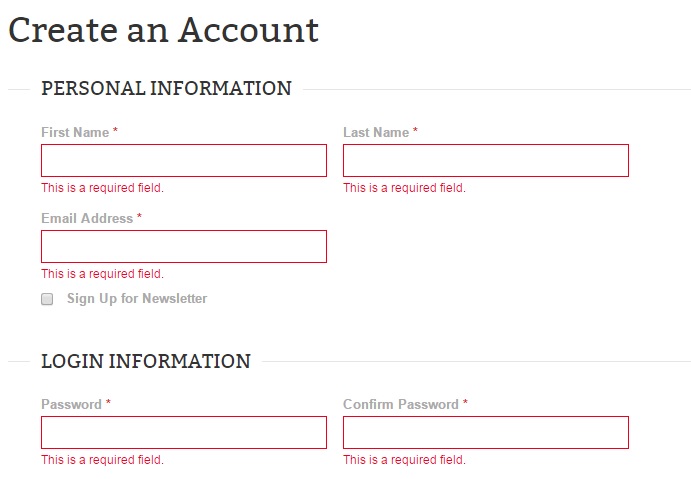
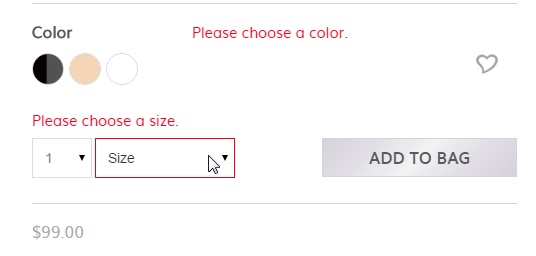
- Validation Messages
Validation messages are notices that let the customer know that they didn’t fill something out properly. These can occur on any form with a required field. You can edit the messages so that they reflect whatever instruction you’d like to give to your customer. See below for an example:
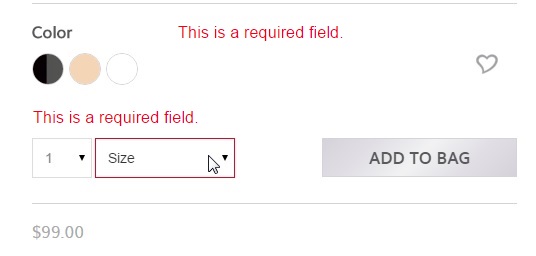
Sometimes the messages can be confusing. In the snapshot below, it’s not very clear what’s required. The quantity or the size? In this case, changing the message to be more specific is your best case scenario. For this example, “Please choose a color” and “Please choose a size” are best.
Let’s take a look at the element related to the size-selection input in the above snapshot. By default, it has a class “required-entry”.
![]()
Then look into your-store/js/prototype/validation.js, and search for “required-entry”, you’ll find something like this:
This is where the validation message is defined.
So, to edit the message:
Step 1. Add a new class to the input element.
To help keep things specific, be sure to rename “required-entry” to something like “required-size”. The element now looks like this
![]()
Step 2. Add the following code snippet in the page’s template file:
Save the file, and the validation message has been changed.
Do the same to the color input. Now the new messages are much easier to understand:
If you have a question about editing default messages on your Magento website, feel free to ask by leaving a comment below.
Front End Developer