The “Advanced Product Options” extension from Mageworx is one of the most useful tools for any Magento developer. In Magento, we use custom options to create ways to allow customers to choose extra options in addition to the main product they are adding to the cart. One example would be a Tshirt where you have them choose size and color. The size and color, in Magento terms, are known as ‘custom options’.
How To Use This Extension
The first thing you want to do, after having it installed, is look under the Catalog –> Advanced Product Options menu listing.
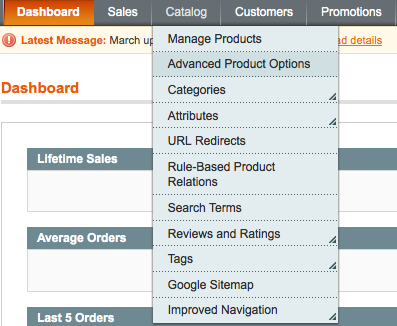
When you click on that page you will see a page that will be blank, initially, but will eventually load what are known as ‘Templates’. Below is the page that will appear once you click on the “Advanced Product Options’ menu item.

What Is A Template, In The Context of This Extension?
These templates allow you to define custom options to load for certain product types. Let’s create a test product that shows off dresses. We will want to load 1 custom option which is ‘color’ for the dress. Within this one custom option, we will have 4 images (colors) to choose from. Since we may have 45 dresses for sale, we would not want to have to assign custom options (color) to each product manually, so what we do is create a template that we can assign to any dress product. By doing this, the custom options for color can be transferred immediately into the product instead of having to create them again, each time, for each product. I will demonstrate this process below:
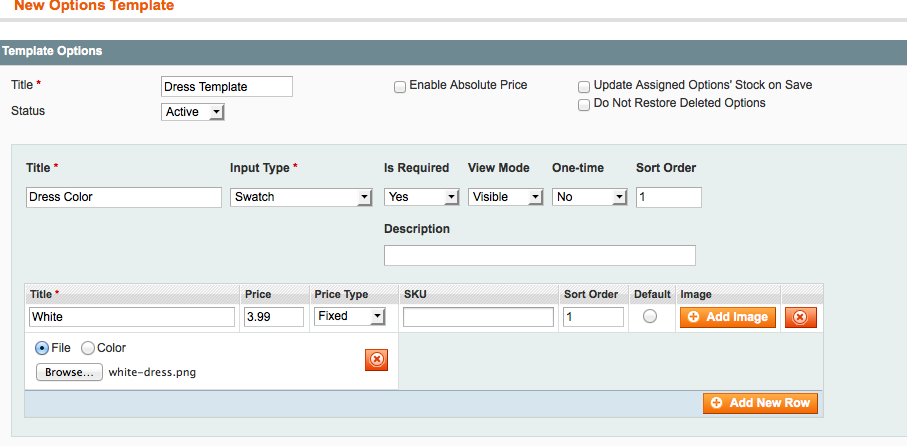
The first thing we do is create a template by clicking on the orange button titled “Add Options Template”. When you do that, you will see a form that lets you add a new template:

At this point, you need to create the options (color). To do this, click on the “Add New Option” button on the top right of the page. What you will see is a set of form fields for you to fill out which will help the extension create the ‘color’ option for you.

The ‘title’ is the name/title of the custom option as the customer will see it. We will enter ‘color’. The input type allows you to choose different ways to display the custom option on the product page. I choose ‘swatch’ which allows the customer to view a thumbnail of the different color, such as a ‘white dress’ and then the default product image will be replaced with a larger version of the ‘white dress’ image.
The next field ‘is required’ is asking you if you want users to be forced to make a selection for this option before adding the product to the cart. If you want this to be a selection they have to make, select this field to ‘yes’. Otherwise set it to ‘no’. For the ‘view mode’ field, set it to ‘visible’ so the customer can see it on the product page. Sometimes, a store owner may not want this to be visible on the product page but will want to see it in the admin if they add options to a product for a specific/custom order, so that is why those options exist for ‘view mode’. The next field, ‘One-time’ is asking you if you want to add the custom option price (such as an extra cost for a dress in color ‘blue’) only one time, assuming you have multiple versions of that product in the cart. If you choose ‘yes’, and have 2 versions of the dress, each with a color custom option that has an extra cost, it will only add the extra cost of the color option to one of the products. If you choose ‘no’, for ‘One-time’ field, it will add any extra custom option price to all similar products in your cart.
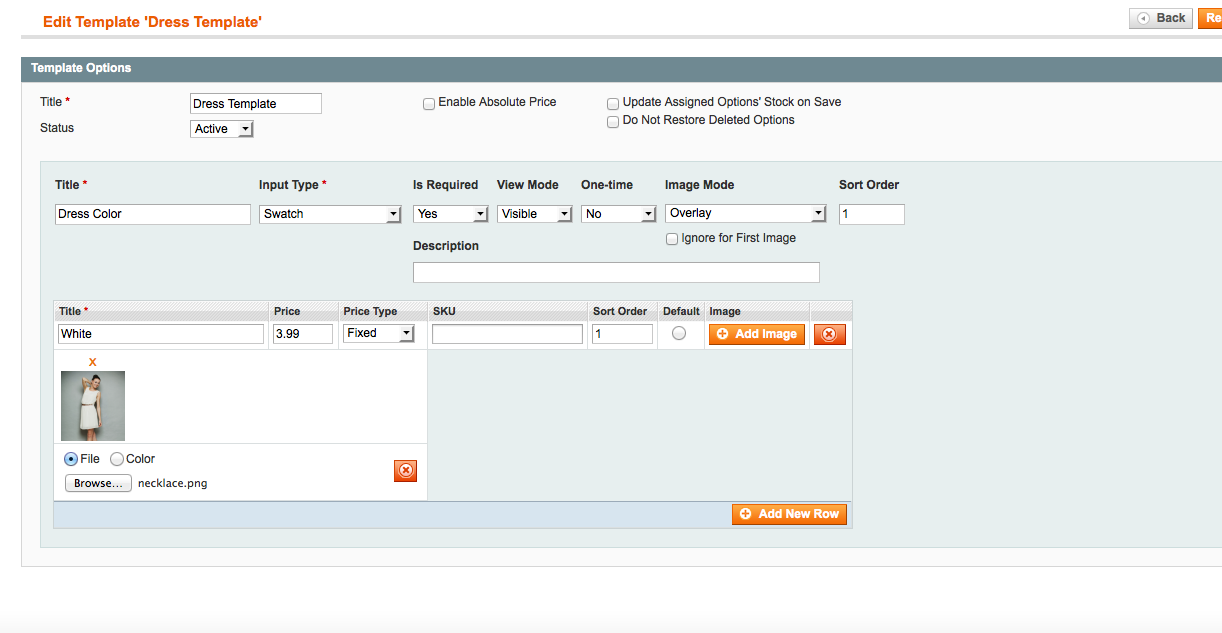
The next option is important if you are using images. This field ‘Image Mode’ has a few options. In this demonstration, we will use ‘overlay’ as the option. This means that when one clicks on a thumbnail of a custom option dress color, they will see an enlarged version of the dress in the unique color that is assigned to the custom option color. In a moment, you will see how to assign those images to each color option.
One important thing to check is the ‘sort order’, which is the next field option. This is asking in what sequence do you want to list the custom options. They start from left to right. So if you have 4 options, such as white, blue, green and purple, and want ‘blue’ to load first on the far left, you enter ‘1’ in the ‘sort order’ field for that specific custom option image. At this point, you need to add the actual custom option ‘value’ (for the custom option ‘color’, you have values ‘blue, green, purple and white’ which have a corresponding image associated with it). Let’s create those values.
Creating Image Based ‘Values’ For Custom Options
The first thing we do is click on the orange “Add Image” button on the right side of the page when we are adding a new ‘value’. We will call this value ‘White’ for a white dress. For the ‘price’, which is added to the base price of the product, we will set $0.00. We will add ‘1’ for sort order to ensure this value loads furthest to the left. We also will have an option to choose between uploading an image or choosing ‘color’ which lets us use a ‘color wheel’ to choose a color.
If we use this instead of ‘image’, we would be presenting a square with the chosen color for visitors to view when wanting to preview the color of the dress. Since a swatch image creates a more useful visual, we will upload an image of a white dress to represent the ‘white dress’ value. When we upload the image we need to save this option and its new value so we click on the orange button titled “Save And Continue Edit” at the top of the ‘edit template’ page.
Below is the result you see when uploading the ‘white dress’ and saving the template:
Now that we have saved the value for ‘white dress’ for the ‘color’ custom option, we can add more. We will click the orange ‘add new row’ button to allow for a new set of form fields that let us define, and select the image, for the green, blue and purple dress colors. Below are 2 screenshots; one shows the 2 rows created for the 2 other values and then, below that, is the screenshot showing the end result for creating those values as well as uploading their respective images.


We will do this for four colors and, when done, we will see them loaded on the ‘edit template’ page. At this point, we need to assign them to a product. So go to the product you want to load this template of custom options into and look for the ‘custom options’ tab. When you click on that you will see an option on the top left of the page listing the name of the new template. Click on that and save your product. When the page refreshes, go back to the ‘custom options’ tab of your product and you will see the following:

What has happened is the template you created, with one custom option (color) and 4 values (the blue, green, white and purple dress) are imported immediately into your product. This saves you time from having to add these custom options, and values, by hand for each product.
Here is how it looks on the product page:
The following screenshots show you what happens when you click on the blue, purple and green dress values for the ‘color’ custom option.
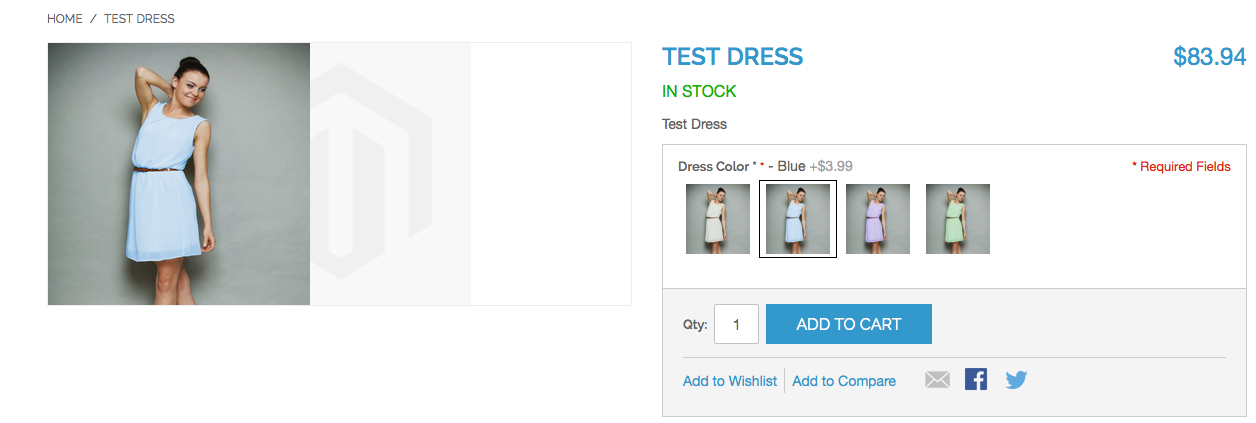
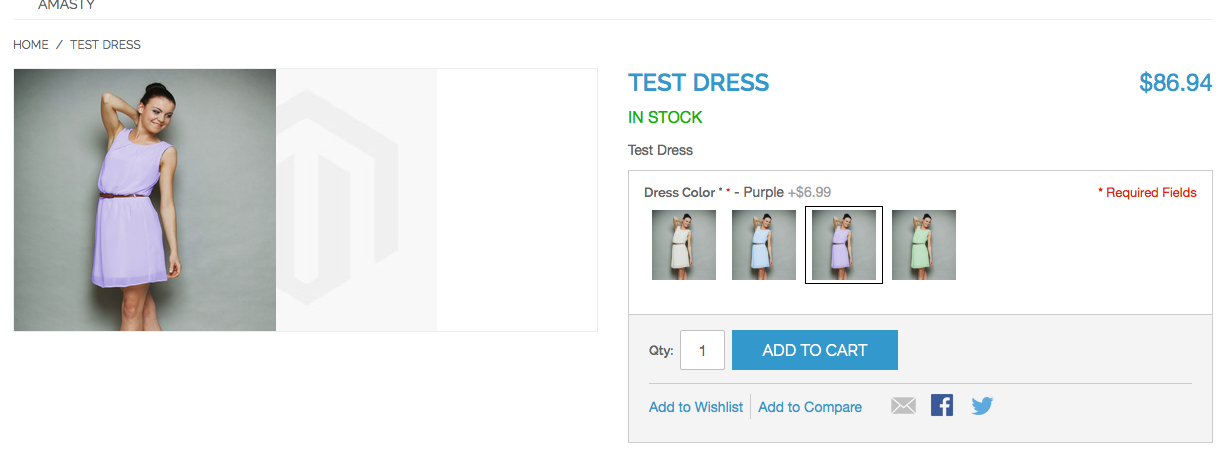
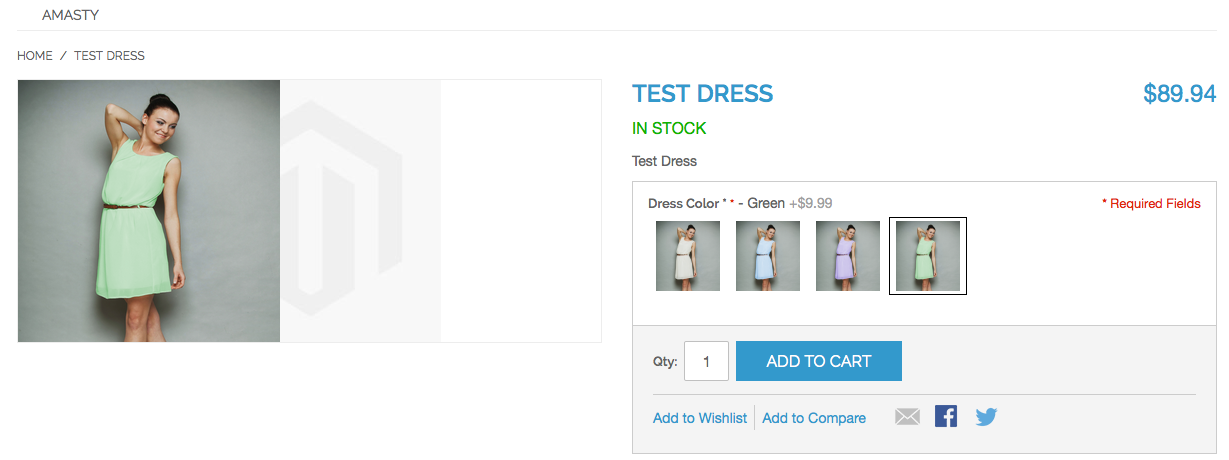
Since I set up a unique price for each color, you see how they get added to the main product price of $79.95. You also see the main product image area loads the ‘swatch image’ in place of the standard product image. This is the benefit of using swatch images and there is no better extension to use for this functionality than the Mageworx Advanced Product Options. Of course, this is only one of the things you can do with this module and we even found a way to customize this to make it even more powerful. I will delve into that in part two of this review as I will show you how to create a powerful ‘merge’ effect which will combine multiple images into one, such as loading a white necklace dynamically on each of those 4 dresses.
Magento Development Lead