To speed up a Magento 2 website is of utmost importance for your website’s static content and images to load fast. To solve this problem, and provide a seamless experience, most eCommerce websites use a CDN (content delivery network). A CDN allows users to download static content from a source that is the closest to them. Instead of spanning the Atlantic ocean to retrieve data from where the server your website is hosted, they can connect to a server say in NY, to get the same data. This reduces latency and loads your website faster.
Why use a CloudFront CDN for your AWS hosted Magento website?
First things first, let’s get on the same page of why you might want to implement a CDN in the first place.
As you probably already know, CDN stands for Content Delivery Network. A Content Delivery Network distributes assets from your website to various locations on the internet in order to deliver them to the end user quicker.
When we talk about assets in this context, the obvious thing to think of is your site images but it also includes the likes of the CSS and Javascript from your website. This is particularly important when talking about Magento as the application uses a number of different CSS / Javascript files natively and will be using more once customized so anything that can be done to deliver these to your customers quicker is a bonus.
By default your site will deliver everything from the web server where your site is hosted which has several downsides:
- The user may be far away geographically and have to deal with associated latency when fetching each asset.
- Your web server may not be optimized to deliver those images in the most efficient manner
- When all assets are fetched under a single domain, the user’s browser will have to wait for others to be downloaded before fetching the next. This can be tackled using a technique called domain sharding.
- Uptime of your images is dependant on your web server responding in a timely manner which might be slower under load
There are many CDNs available but in this article, we will focus specifically on AWS’ CDN, CloudFront and how to implement that in Magento 2.
With that said, let’s get started and how to get it configured.
CloudFront CDN Configurations
In order to implement a CDN, there are four aspects of configuration:
- DNS configuration: provides a domain to reach your assets on
- CDN configuration: delivers the assets
- Web server configuration: To ensure Cross-Origin headers are set correctly
- Magento configuration: To let your store know to use the CDN
Setting up a new CDN in Cloudfront
Amazon’s AWS makes it easy to set up a new CDN using Cloudfront. Go ahead and log into your AWS account and select CloudFront from the list of services.

For each one of the asset types that we want to deliver we will need to set up a separate distribution within Cloudfront. The main reason for this is due to a technique known as domain sharding.
In short, browsers will throttle the number of assets that can be simultaneously downloaded from each domain. Therefore if we set up multiple subdomains for the different assets we can speed up delivery substantially.
In this example we will use the following subdomains:
static.mydomain.com
media.mydomain.com
We will need to go ahead and create a distribution for each
> Create distribution

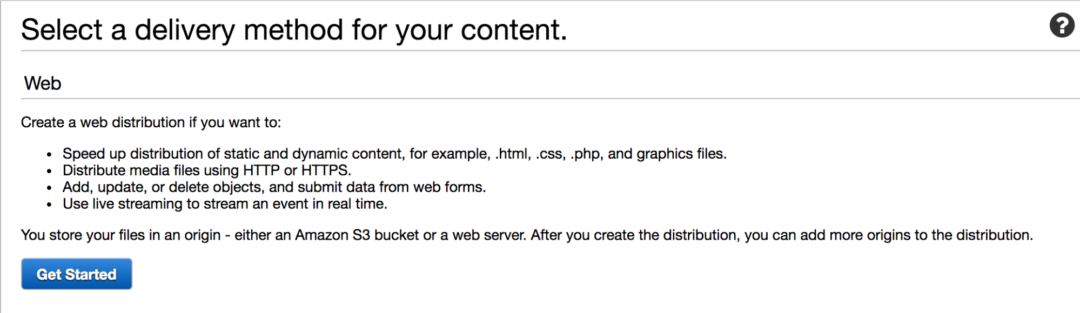
You will then need to select ‘web’ as the delivery method:
> Get started
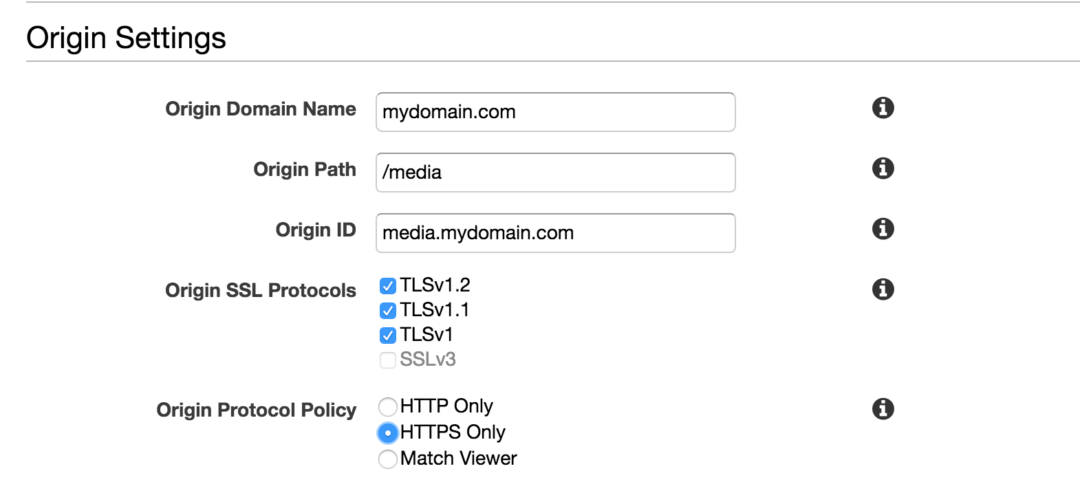
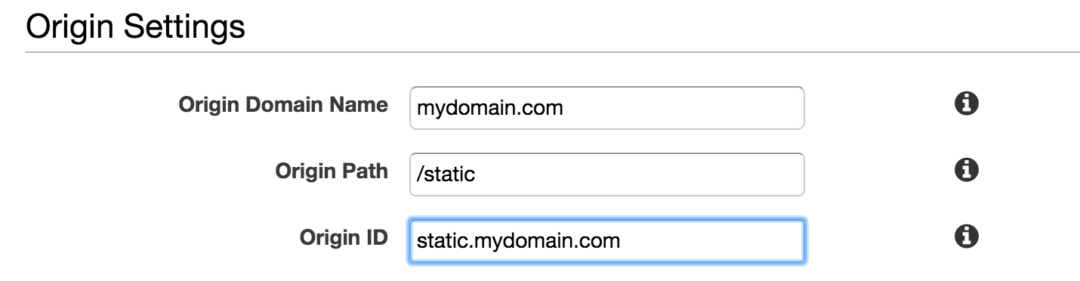
Next you will need to go through and configure the specifics for each distribution. While the settings are very similar, we recommend using slightly different configuration for static and media content.
media.mydomain.com
Below are the most important settings within the distribution:
We want to redirect HTTP requests to HTTPS and leave ‘allowed HTTP methods’ as ‘GET, HEAD’:

By default we can use the auto-generated CloudFront SSL certificate:

And lastly, make sure that the distribution is enabled:

We can then create the distribution. It will take a few minutes to deploy.
static.mydomain.com
For static assets we will tweak these configurations slightly. Go ahead and create a new distribution and change the following:
Use ‘GET, HEAD, OPTIONS’ this time:

Enable ‘whitelist’ for the caching configuration:

Ok, now you should have two new distributions created. Each of them will have an auto-generated domain record:
e.g
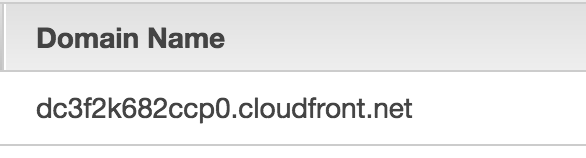
We can use this to point a more friendly DNS record to.
DNS configuration
Go ahead and log into your domain name provider control panel and create some new CName records to point to the appropriate distribution for each:
For example:
media.mydomain.com -> dc3f2k682ccp0.cloudfront.net
As we have set the origin of each distribution to look at your Magento install path we can now do a quick test to make sure that the files are loading under our new configuration. Note the new DNS record may take some time to propagate before becoming available.
Open a web browser and visit an asset URL replacing your normal domain with media.mydomain.com/media/wysiwyg/…..
You should see that the image now loads under that path. This is now being fetched from the CDN.
Access-Control-Allow-Origin
Before completing the final step of configuring Magento, we need to make a tweak to the web server hosting your site to ensure that it allows certain web browsers to load assets from different domains. Most browsers will quite rightly flag this as a security risk so we need to make sure it knows we are doing this deliberately. This is done using the Access-Control-Allow-Origin header.
How this is implemented depends on the web server you are using (Apache, Nginx etc..). If you have hosting support you will need to contact them to implement this, alternatively, a sysadmin will be able to assist with this quick task. It can be done in a number of ways from base configuration to htaccess.
The important thing is that the user’s web browser won’t throw any nasty errors when trying to load the assets from different locations so be sure to double check this in different browsers once added.
Configuring Magento
With that done, the final step is to tell Magento to use the CDN.
Luckily Magento supports the use of CDN out of the box and it’s relatively straightforward to configure with just a few different settings in the admin.
Go ahead and log in, then navigate to:
>Stores > Configuration > General > Web > Base URLs (Secure) section
You should see two base URLs that can be set for both static and media assets:
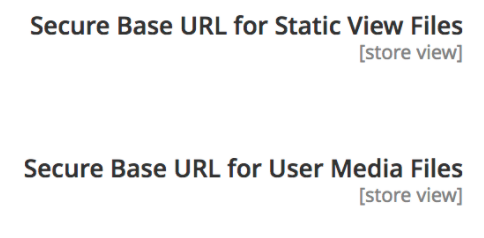
Go ahead and configure these to match the DNS records that we set up earlier in this article.
Once that is done, you will need to clear your installation’s cache (including Varnish if used) in order to apply the change to the front end of your site.
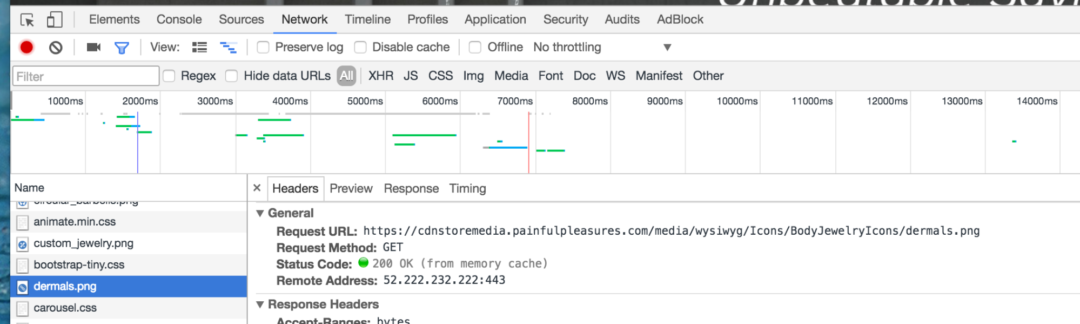
With that done, you can now navigate to the front end of the site and by opening the network tab within developer tools you should see that your assets are now being loaded via the newly created CDN:
You can also use a tool like www.webpagetest.org to verify that the CDN has been implemented correctly:
If the CDN on your Magento 2 website has been configured as described here, you will see the green checkmark on the Web Page Test website when entering your website’s URL. If you have any questions, feel free to comment below.
Systems Manager