Magento 1 websites have a folder structure which makes development sometimes hard and complicated. Extensions are usually found inside app/code/local or app/code/community and other files, like design templates/layouts or skin files reside in a different directory entirely.
Let’s assume you need to update an extension. What you would usually do is replace the existing module files with the updated ones. Most of the time the update works fine. However, if you have to deal with upgrades, where an extension has changed the structure (like files were removed, added etc), then a developer needs to search within each directory to delete those files and folders manually.
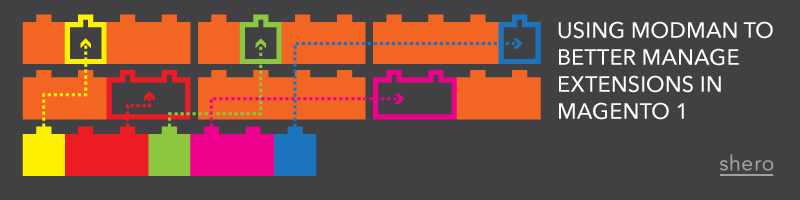
Using a solution like Git makes the job easier, but that still takes time when we talk about removing a module or when there are conflicts. A great idea would be to keep the module files separate from Magento’s files. To solve this issue, a developer can use a tool called Modman.
What is Modman?
Modman is a Magento tool that keeps the extension files in its own directory, separated from Magento’s files. By using a mapping file, Modman symlinks the extension files to the proper directories in Magento’s root folder.
You can learn more about Modman and the installation steps here.
Setting up Modman
After installing Modman, create a .modman folder outside the Magento web folder (usually public_html). Placing it outside the webroot provides extra security. Alternatively must make sure to deny access to it via your .htaccess file.
Inside the .modman directory create a file named .basedir. Inside that file put the location where Magento is installed. Usually, it works if you specify the name of the directory only, if you placed the .modman directory outside the public_html folder. So in this case, it will work just by adding public_html there.
Assuming you have the public_html folder in /var/www/, the contents of /var/www would be:
.modman
public_html
Installing a Module
To install a module, you to follow a couple of steps.
1. Create a folder inside the .modman folder (e.g. Shero_CustomModule)
2. Inside the module folder put the contents of the module (app, skin, js etc).
3. Create a file inside the module folder named modman.
This file will be used to map the module into the Magento root folder. You can create the file manually, or you can use a tool to generate it. I prefer to use this tool and after the file is generated, I open it up and “beautify” it.
For example, the script symlinks almost every file to the Magento root. I usually remove all of them and symlink the entire folder if the folder has a specific name. For example:
app/design/frontend/base/default/shero app/design/frontend/base/default/shero
For other files inside app/etc/modules, you can leave them the same as the generate-modman script created them.
4. Run modman deploy Shero_CustomModule or modman deploy-all if you want to deploy all the modules.
* If you plan to use composer to update modules, then the naming of the directories is important. All must be lowercase and divided by a dash, like shero-custom-module.
Advantages of Using Modman
1. Module files are separated from Magento’s files.
2. You can use Git to manage module versions better. Installations and upgrades are easily managed. You just need to git clone if you want to install a module and git pull if you plan to update to the latest version (in general terms). Assuming your website’s git repo starts at the webroot[public_html for sake of argument], placing .modman outside of the web root places it outside of git. If you place it inside of Git, then you can use submodules to maintain your extensions. We usually make the git repo one level up from public_html, in most of our cases, so that we define each modman extension and what repo the extension comes from.
3. Since all the module files are in one place, if something isn’t working or if you are planning to do an override, you can do so on Magento’s folder and it will still work fine. The module files will be untouched in the modman directory. This is especially important if you are dealing with an outside vendor.
4. You can delete unnecessary extensions with one click
Disadvantages
1. When doing deployments, Magento’s files need to be deployed separately from the module files.
2. The modman file needs to be generated each time an extension is upgraded or installed. If you plan to put the modman file in the git repository, then you need to make sure you update the modman file after each update in case some file is missing from the modman file.
3. You need to run some additional commands in order to get everything working properly.
Side notes
You can also move the media folder outside the Magento folder. This way you keep only the necessary files inside it.
A tree of what we’ve done up until now can be found below:
|–www
`–.modman
| `–Shero_CustomModule
| | `–app
| | `–js
| | `–skin
| | `–modman
| `–.basedir
`–public_html
`– media
A list of used commands:
generate-modman
modman deploy Shero_CustomModule
modman deploy-all
Conclusion
Considering how much “disorganized” Magento 1 is regarding the file/folder structure, it is a good idea to use modman, as there are more advantages than disadvantages to it. Additionally, you can delete extensions with one click, rather than look through each directory to remove the files manually. From the client’s perspective, using modman saves development time and the end website will be more stable due to a better management of the whole project. If everything is set up properly, you can separate module updates, Magento core updates and overrides.
By using Modman developers can more easily develop/maintain the website, and clients can spend less for the entire project and maintenance of the website in the future.
Back End Developer