One of the most exciting features of Magento is the ability to run multiple websites with one installation. This is possible with the use of the Magento Multi Site (multi store) feature. Setting up a multi site environment in Magento is quite complex and tricky. We have gone through this process a few times now for different projects and here is a tutorial we have put together to share with all of you. This is the first Magento multi site tutorial. We will have a second one coming soon.
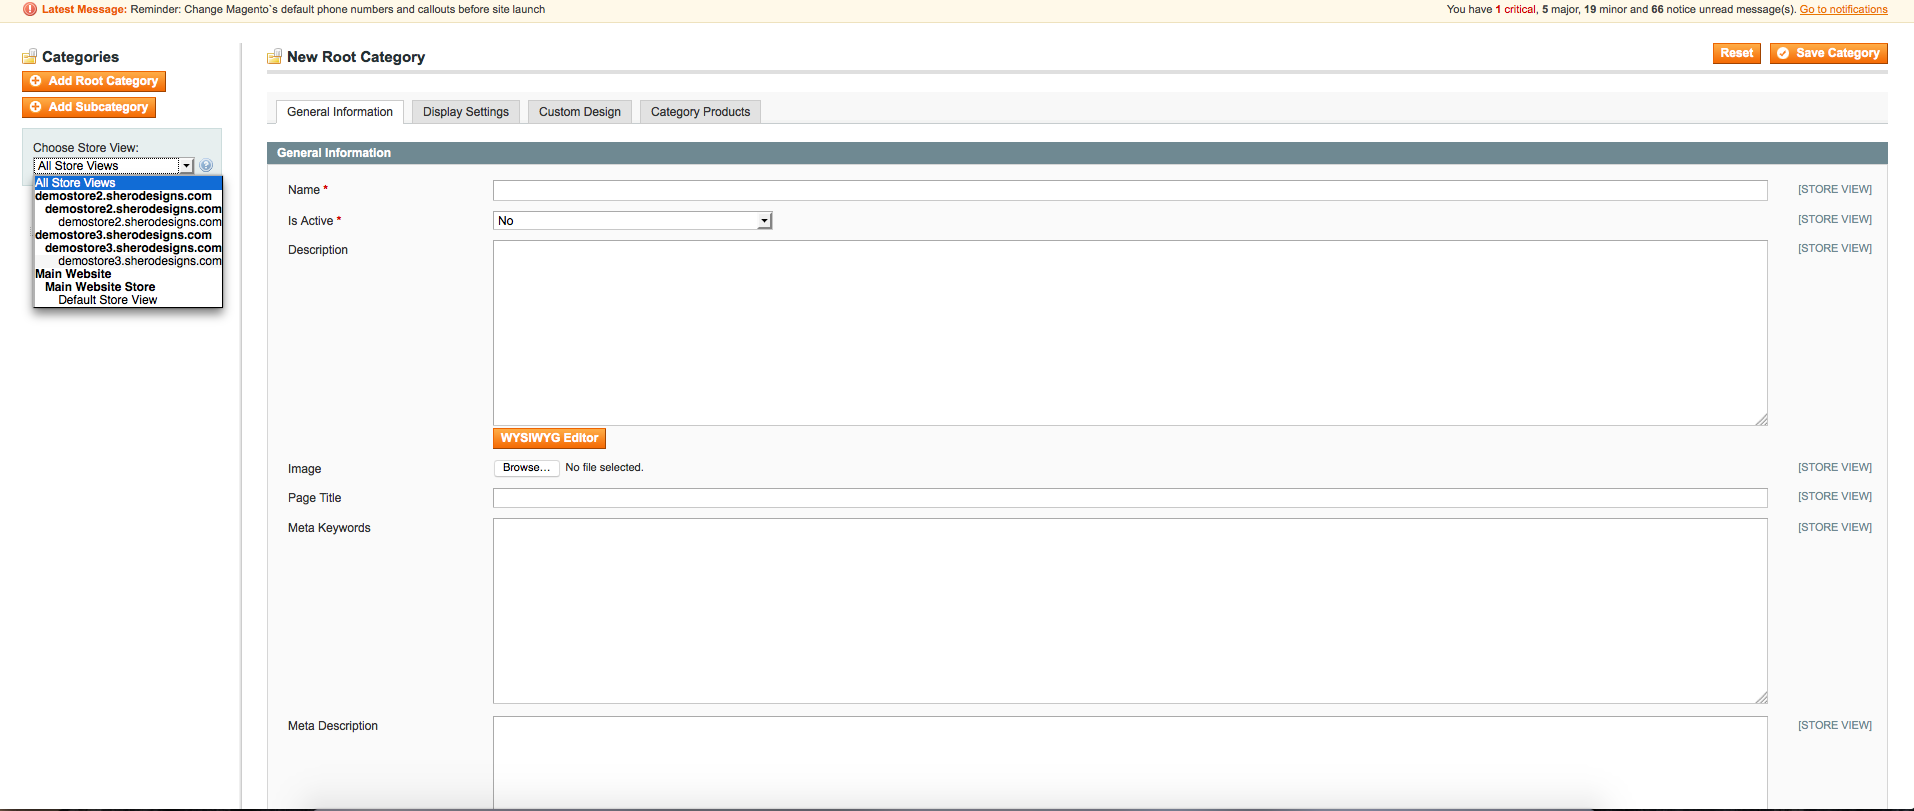
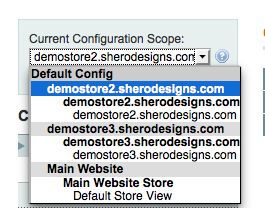
Normally to run 3 websites you would have to install a new Magento instance on their website. With ‘store views‘, however, you can run them all on one website. The key to making more than one Magento website work on one Magento installation is to make sure that you understand how store views work. If you log into your Magento admin, you will see, if you visit from the top menu, System –> Configuration, a pull down menu that shows you different ‘views’. See below:
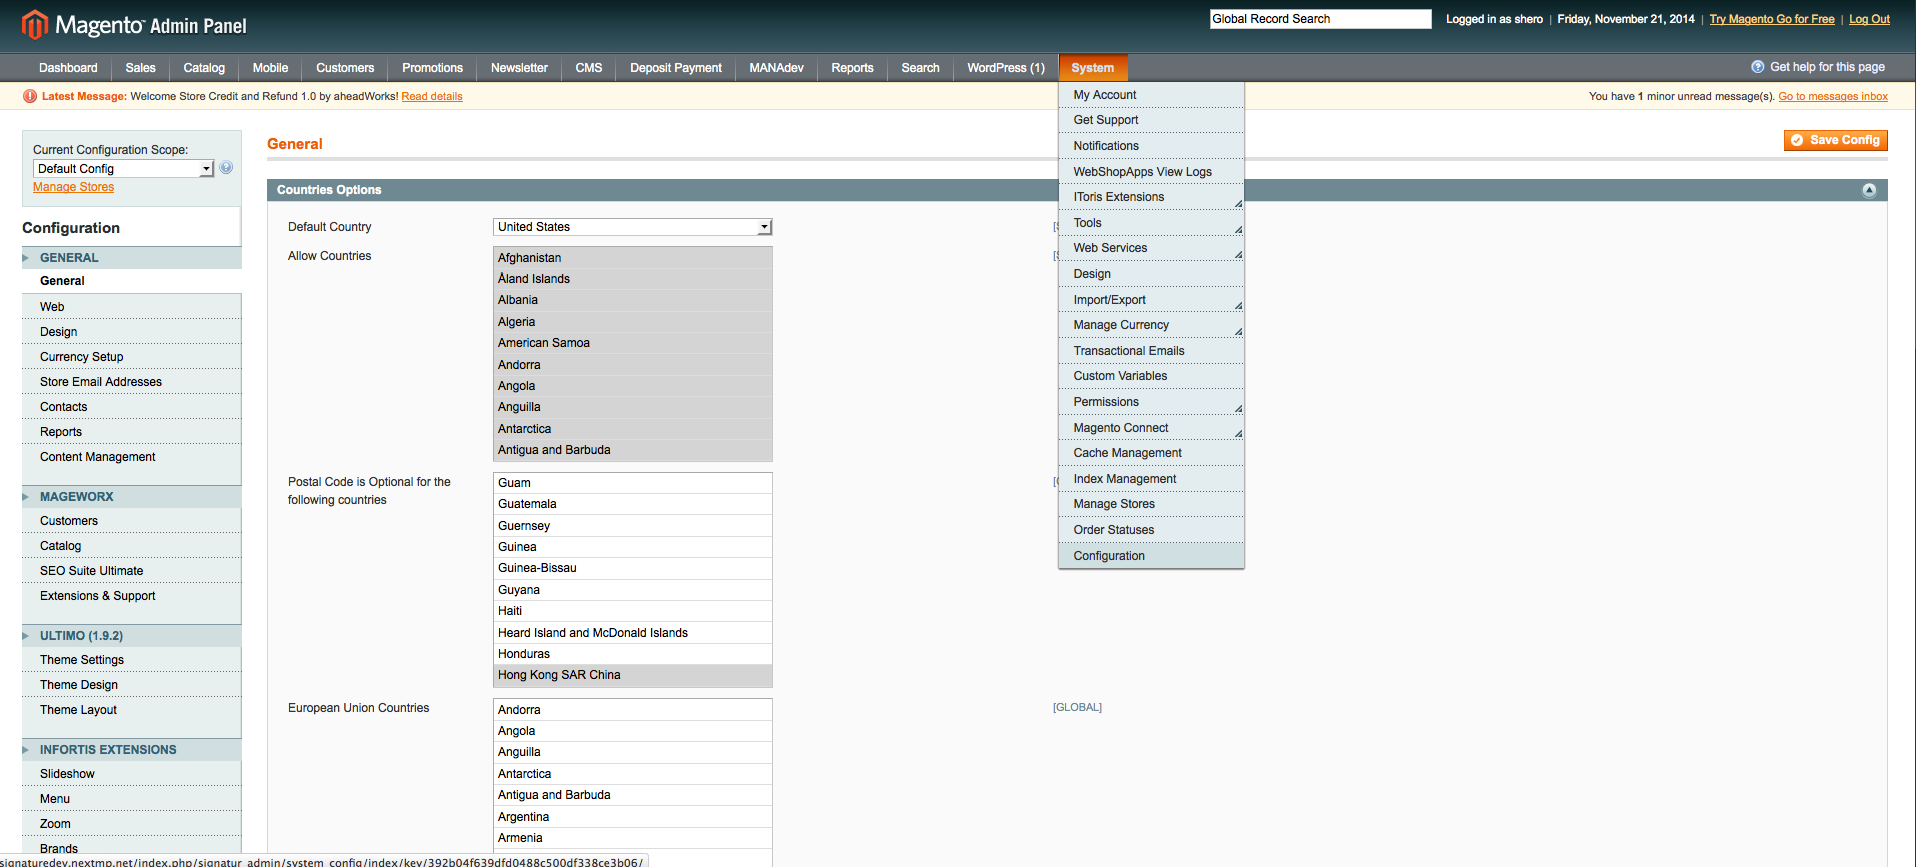
The pulldown for ‘General Configuration Scope’ lets you browse what will eventually be different ‘store views’. What this means is, for each website you load within one Magento installation, you can load unique content or products/categories. By choosing a unique view you are telling Magento to “Allow me to view the admin and access content/categories/products only associated with this website”.
A store view has its own website associated with it so you can tell Magento “For this product, we will only create it for this store view (website). A store view is the technical way to say “instance of all content/products for the website associated with it.”. We think in terms of websites but Magento will think in terms of store views so , when a visitor visits your website, it knows automatically, based on the website they are visiting, what content to display. So, in order to create a multi site setup, we must create a relationship between different store views and their respective websites.
How To Create Unique Store Views In Magento
If you visit System –> Configuration, you will see a link titled “Manage Stores” on the top left under the Current Configuration Scope pull down menu. Click on that link. You will see the following page:
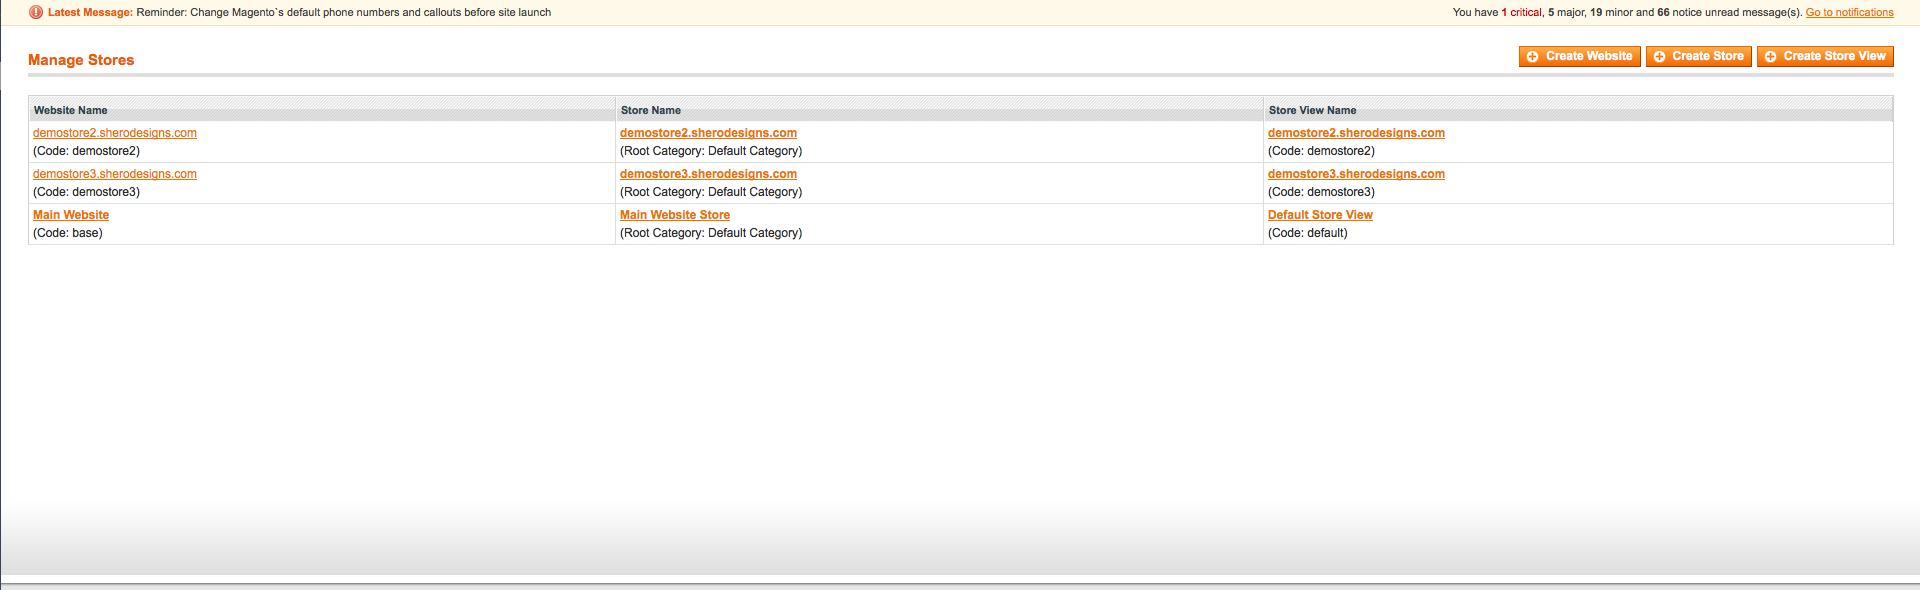
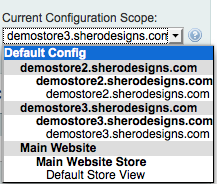
This demonstrates what happens when we have already loaded different websites with store views. This allows Magento to recognize each unique domain associated with its own store in your installation as well as allowing you to visit different parts of your admin by choosing the website/store view you wish to edit for. Below is an example of the drop down field available to you that lets you navigate your Magento admin through different store views.
How To Set Up Your Different Store Views
Setting up store views is a 3 step process. You set up the Website, then you set up the store and then you set up the store view.
1.) Add A New Website
When you visit the ‘manage stores’ page, you will see 3 buttons. First, click on the ‘Create Website’ button. Below is how I set up the demostore 2 website:

For the ‘name’ field you would enter the website url. For ‘code’ you would enter a single word that uniquely identifies it. This will come in handy later when configuring the index.php and .htaccess files to bring all of these stores together. This will be covered in the end of the article.
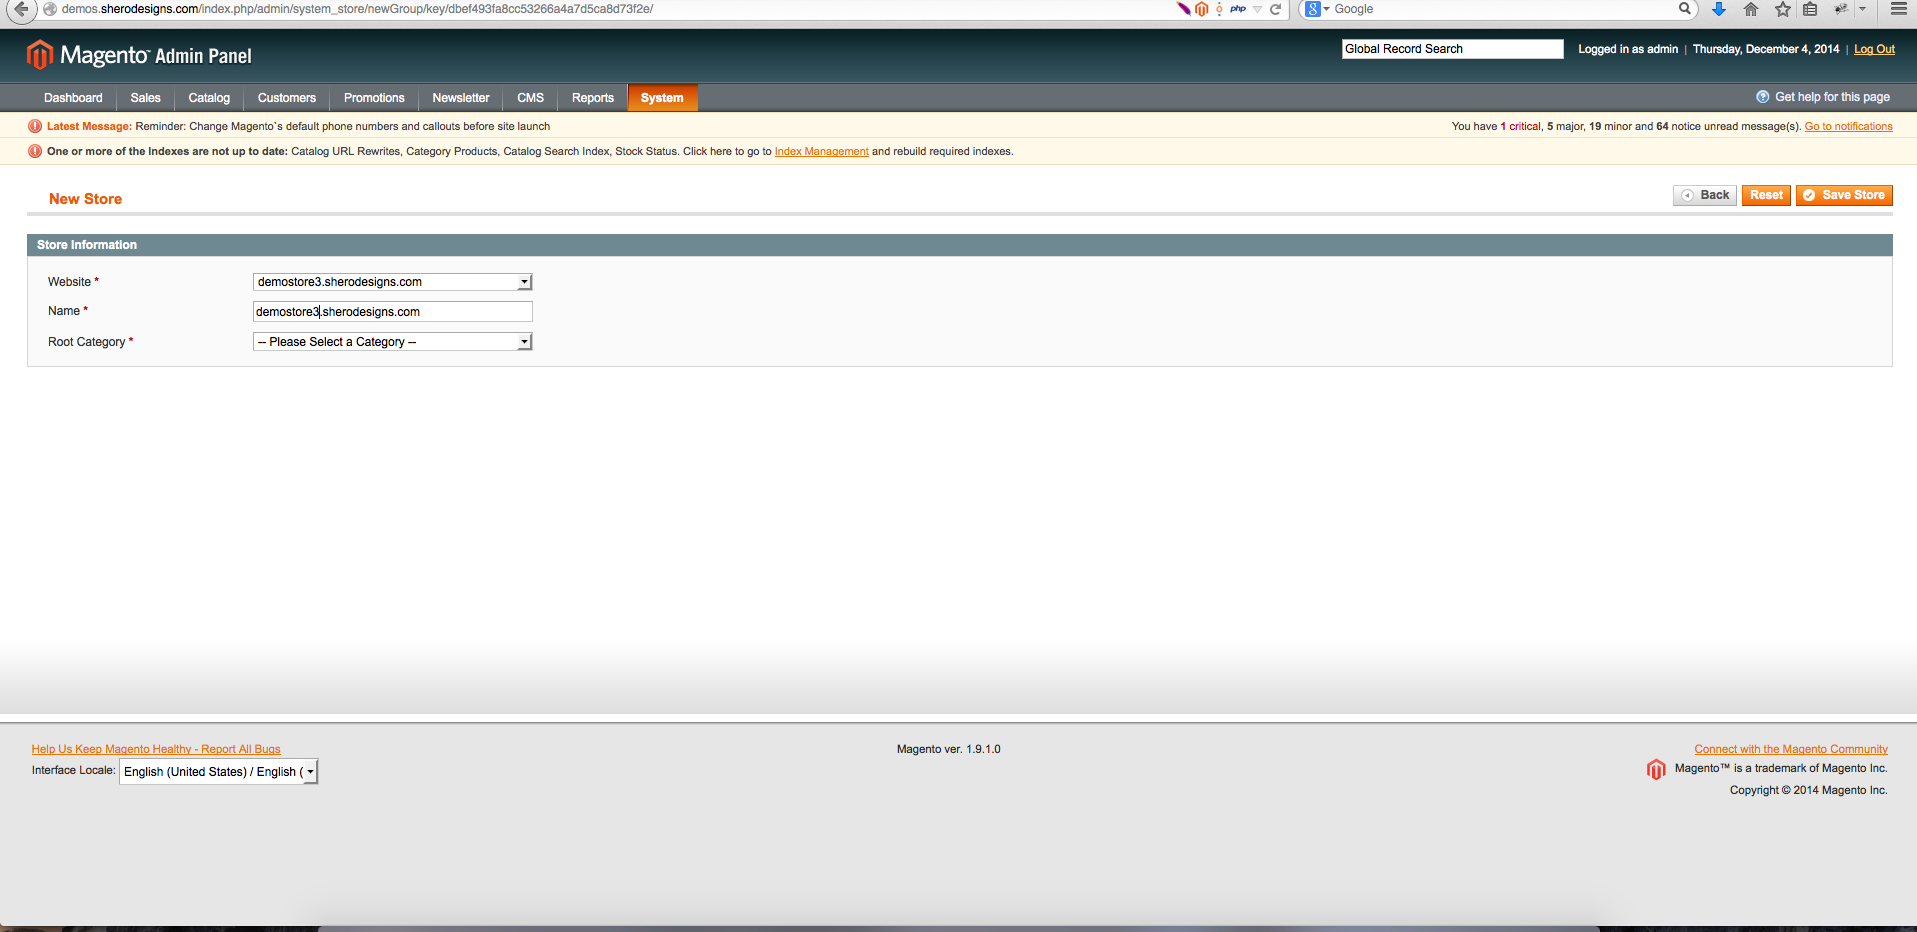
2.) Add A New Store For Your Domain
To add a store click on the ‘Create Store’ button. Here is what it should like when you are in the process of adding your store.
3.) Add Store View
After you create your website as well as your store, you need to set up your ‘store view’. To add a store view click on the ‘Create Store View’ button. When you do you will see this form:

Make sure to select the proper store from the ‘Store’ field. Then make sure to create a name you can recognize when switching between store views in the admin. I usually just give it a name of the domain name. The code will be equal to the code you created earlier for this domain. In the example of demostore2’s website, I typed ‘demostore2’ as the ‘code’.
If you take a look at the screenshot below, you see 3 websites set up under one installation each with their own unique identifier store view code for Magento to keep track of.
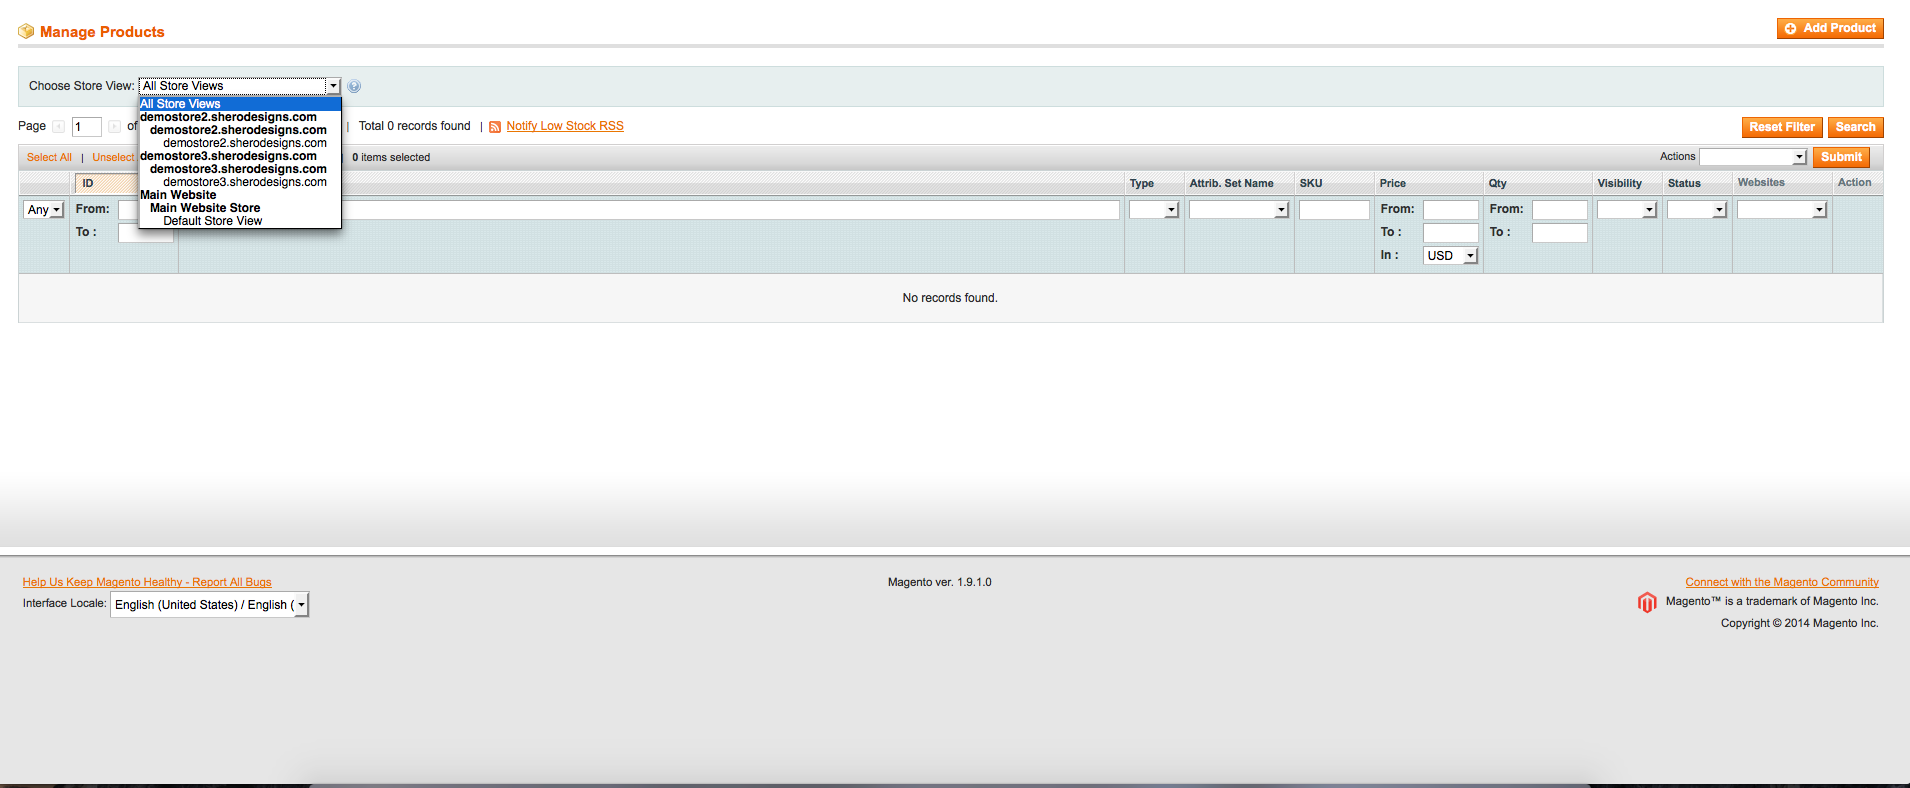
Once you are done creating these store views, you can browse your Magento admin andview each store view. See the screenshot below:
This is an example of visiting “Catalog –> Manage Products” from the top menu. The product summary page now has a pull down menu filled with different website store views you can visit. If you select one you will be taken to that unique website’s store view and will be able to make unique edits to an existing product, or create a new product, that will only show up for that store view.
In the below screenshot you see what happens if we choose a unique website store view and click on a product. If you click on the ‘Websites’ tab to the left, it shows you that only one website, the one you are editing from, will hold those changes.

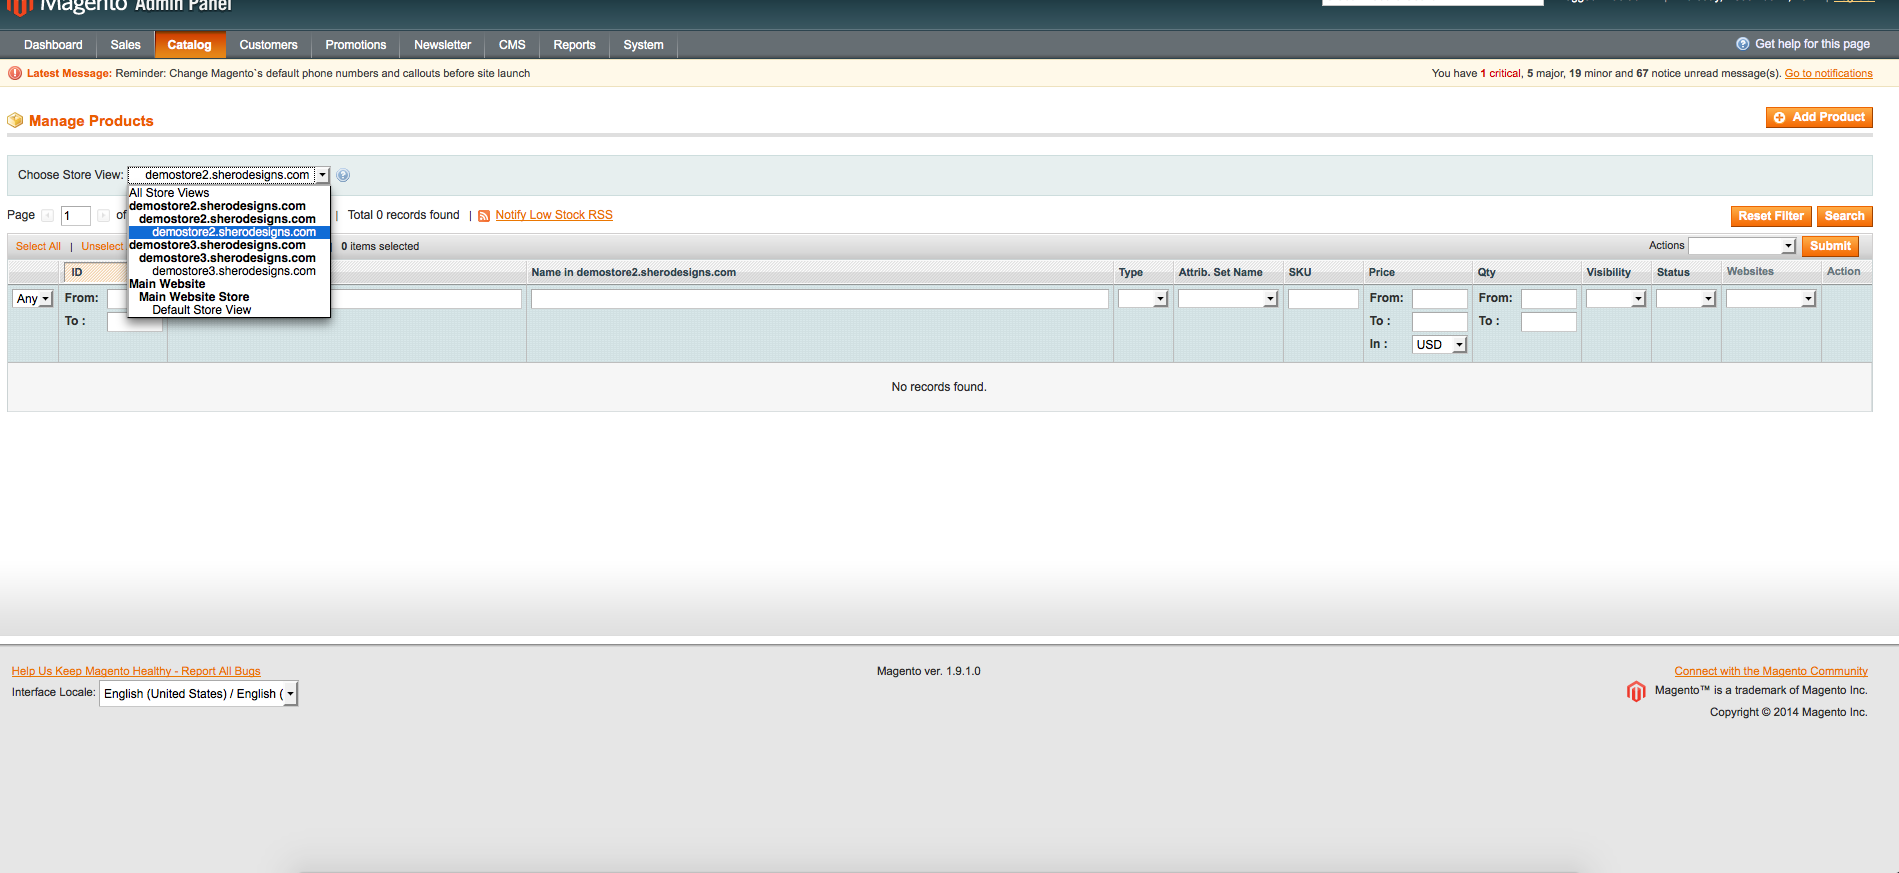
In the above example, I am assigning my ‘test’ product to Demo Store 3. So when I visit the site view for Demo Store 2, I see no products are loaded because in this demo only one product exists and it is assigned to Demo Store 3. See the following two screenshots to compare the results of their store view selection:
Demo Store 2 – Magento Product Summary View:
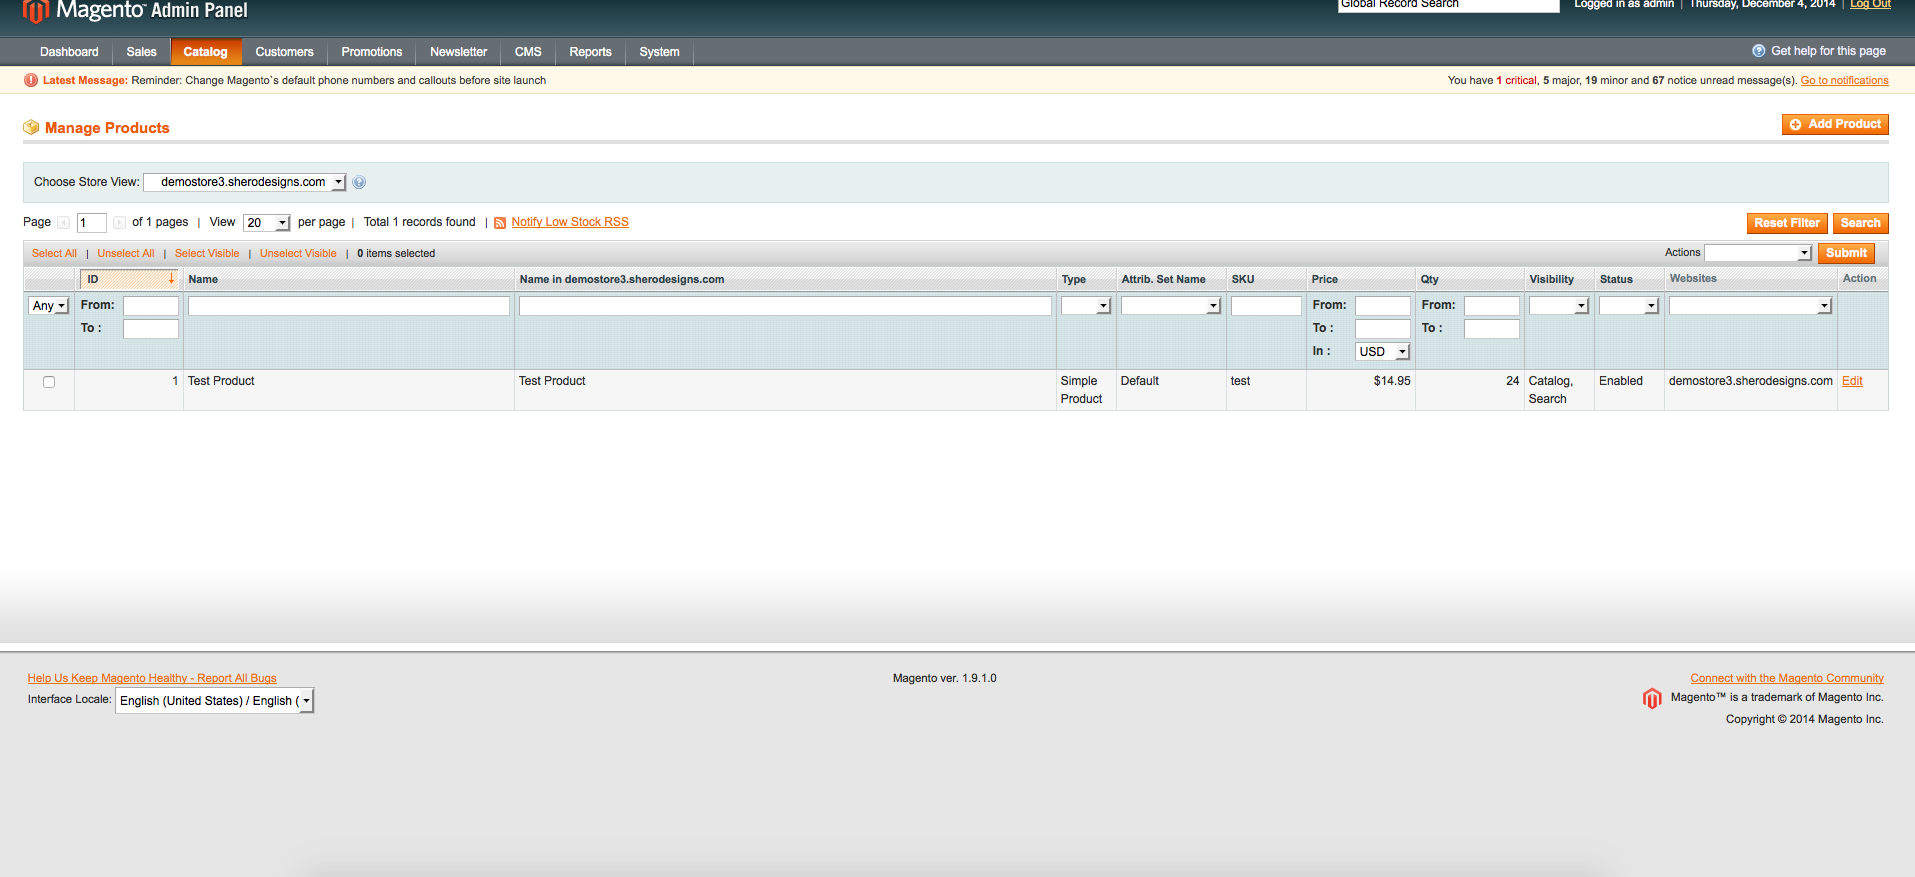
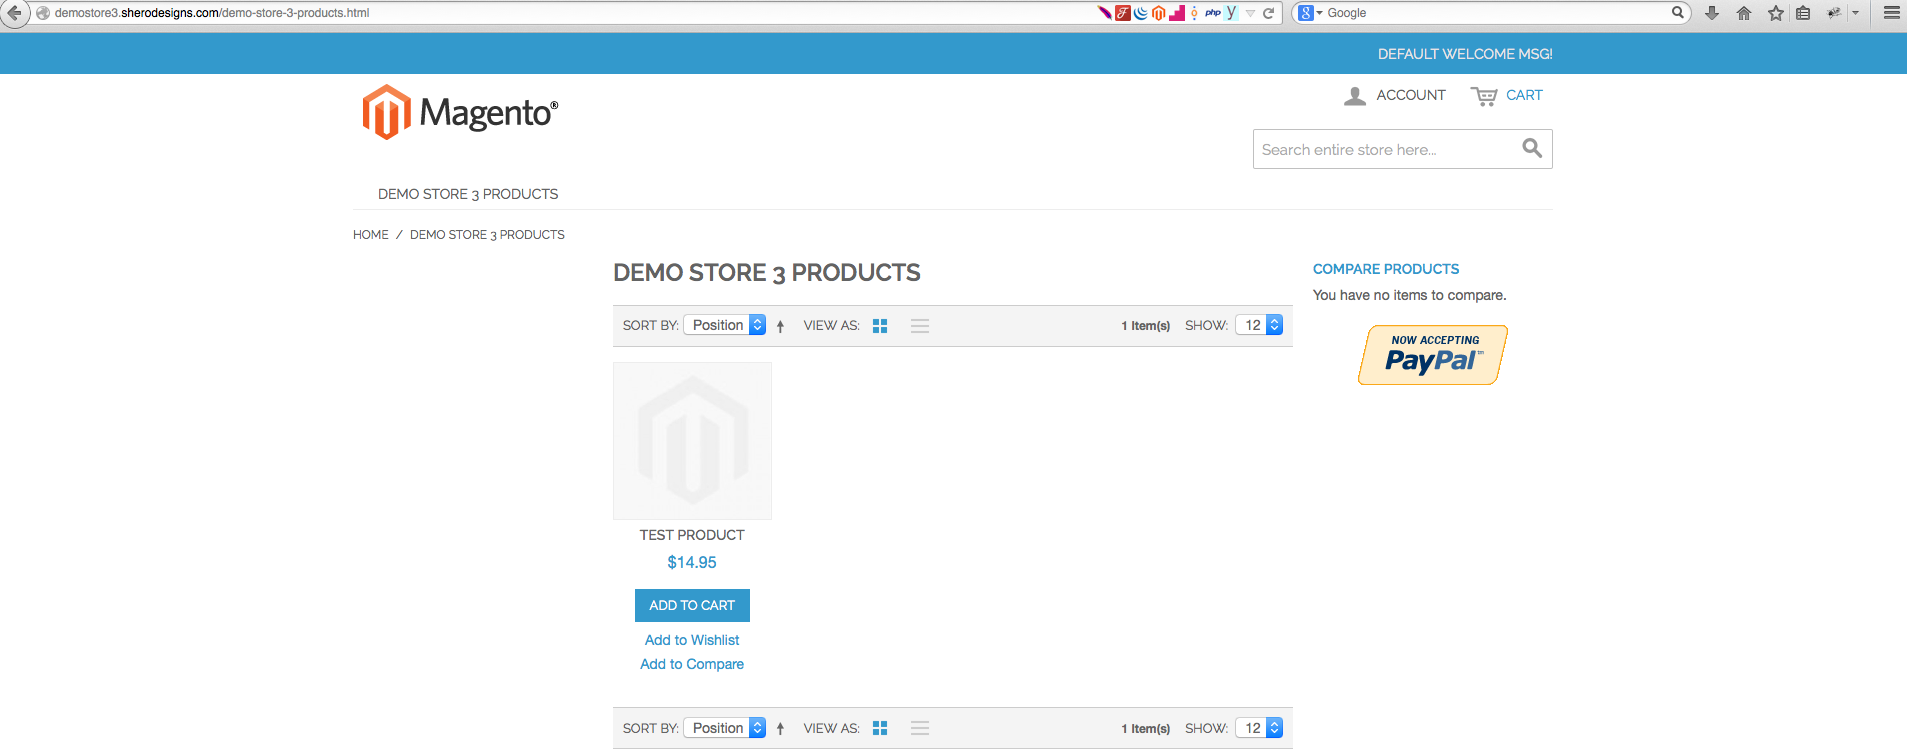
Demo Store 3 – Magento Product Summary View:
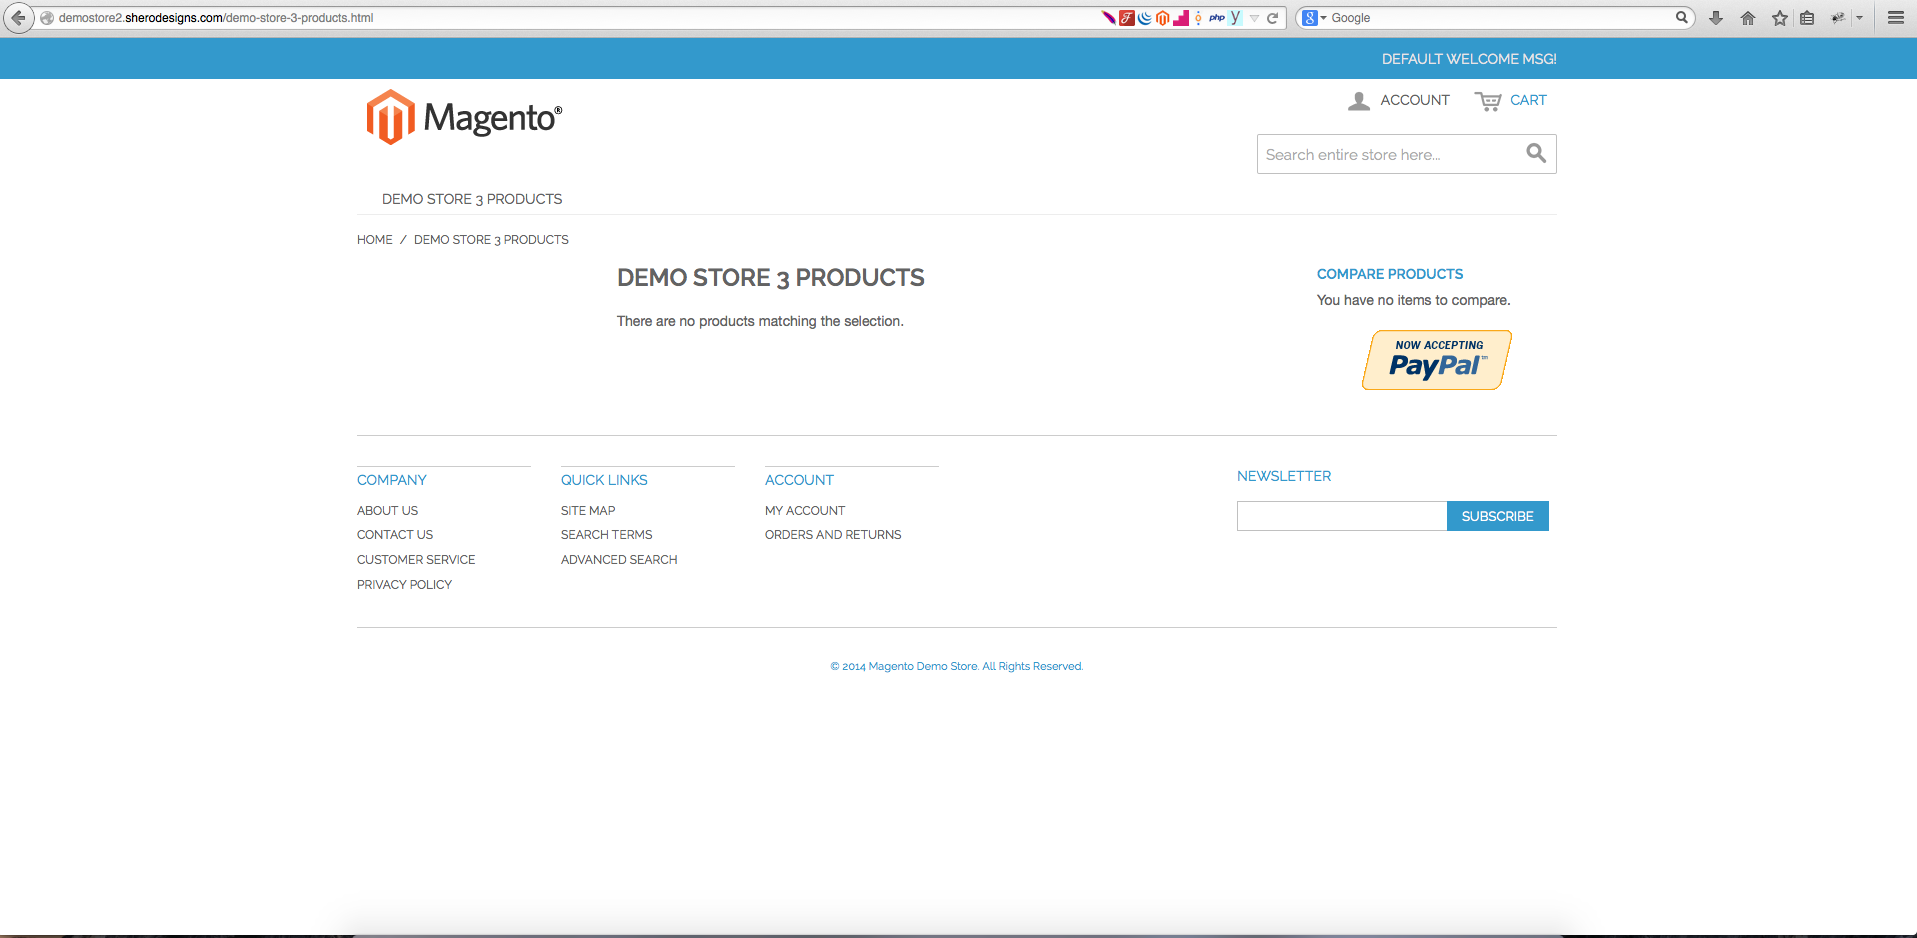
This is what it looks like on the front end. For Demo Store 2, you see a ‘no products found’ message
For the demo 3 store, you see the product listed because we assigned that product to the demo 3 website/store view.
You can also do the same thing for categories (Catalog –> Manage Categories In The Menu)
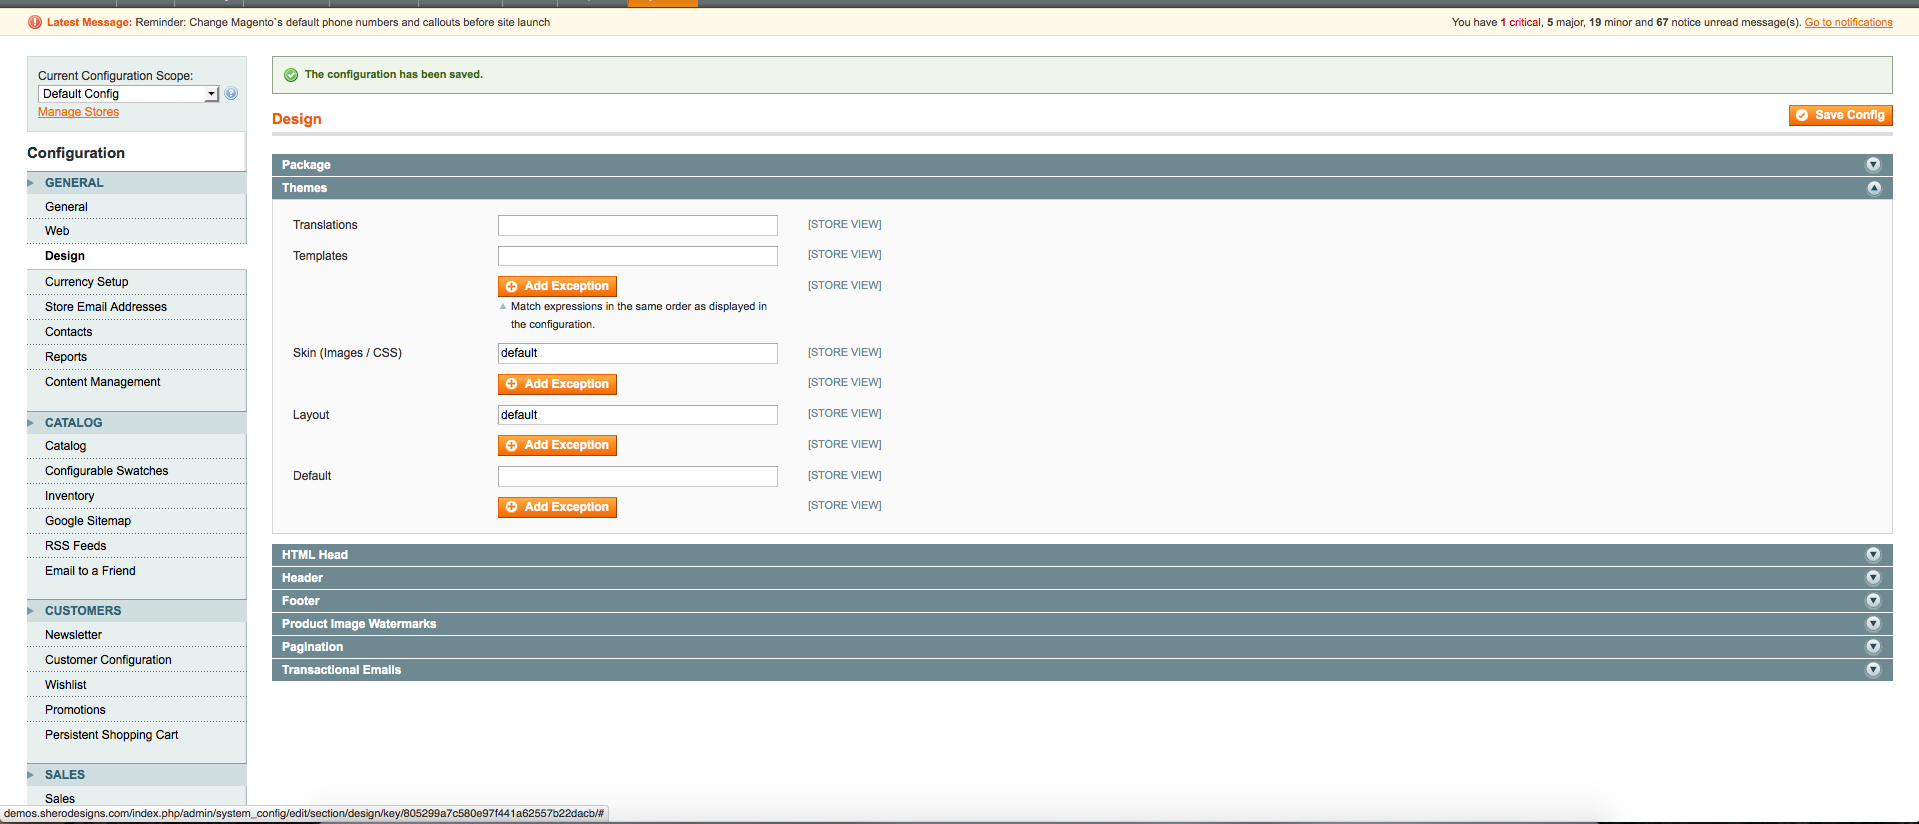
This allows you to configure products and categories, as you wish, for each unique website. The way you set up categories is no different than you would normally use it, you just have to make sure to properly select which website store view you want to access if you need to make unique changes to this content. This logic applies to CMS page content, products and even the theme of your individual websites. For instance, if you go to System –> Configuration –> General –> Design you will find the section that lets you control the theme to your website. In this example we have a default theme for our main site:
How To Load Unique Content For Your Magento Multi Site Store
If you look at the menu at the top of the admin page, you will see a tab for ‘CMS’. In this example, let’s create a unique content page that can only load through one of the three websites. Go to System –> Config and choose a domain you want to apply this unique page to. In my example I use the demo store 2 to create a unique page. Below is the sequence of events that lead to the end result of loading a unique cms page for a unique domain.
Here are the steps:
First, you want to choose the store view/website you want to assign content to:
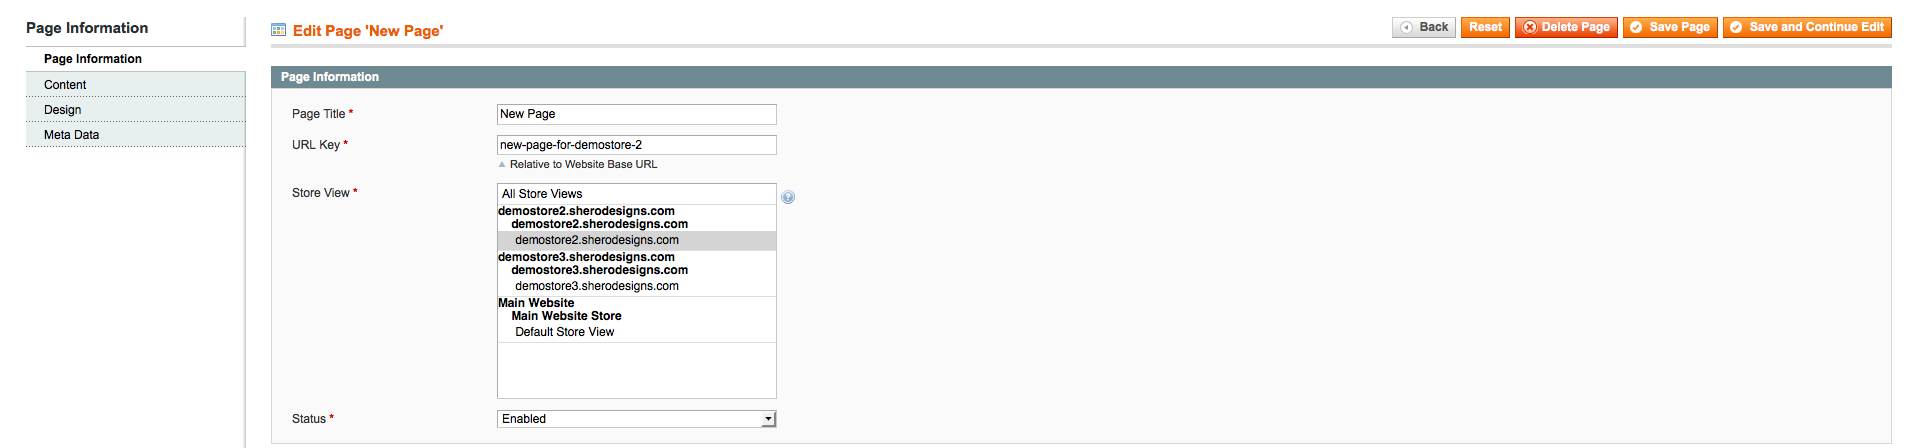
Second, you want to create a new CMS page via CMS –> CMS Pages in your admin panel navigation menu. In the screenshot below, I have already created it but for the first time you will press the ‘Add New Page’ button that you see at the top right of the page.

Third, you want to assign the CMS page to a specific store view.
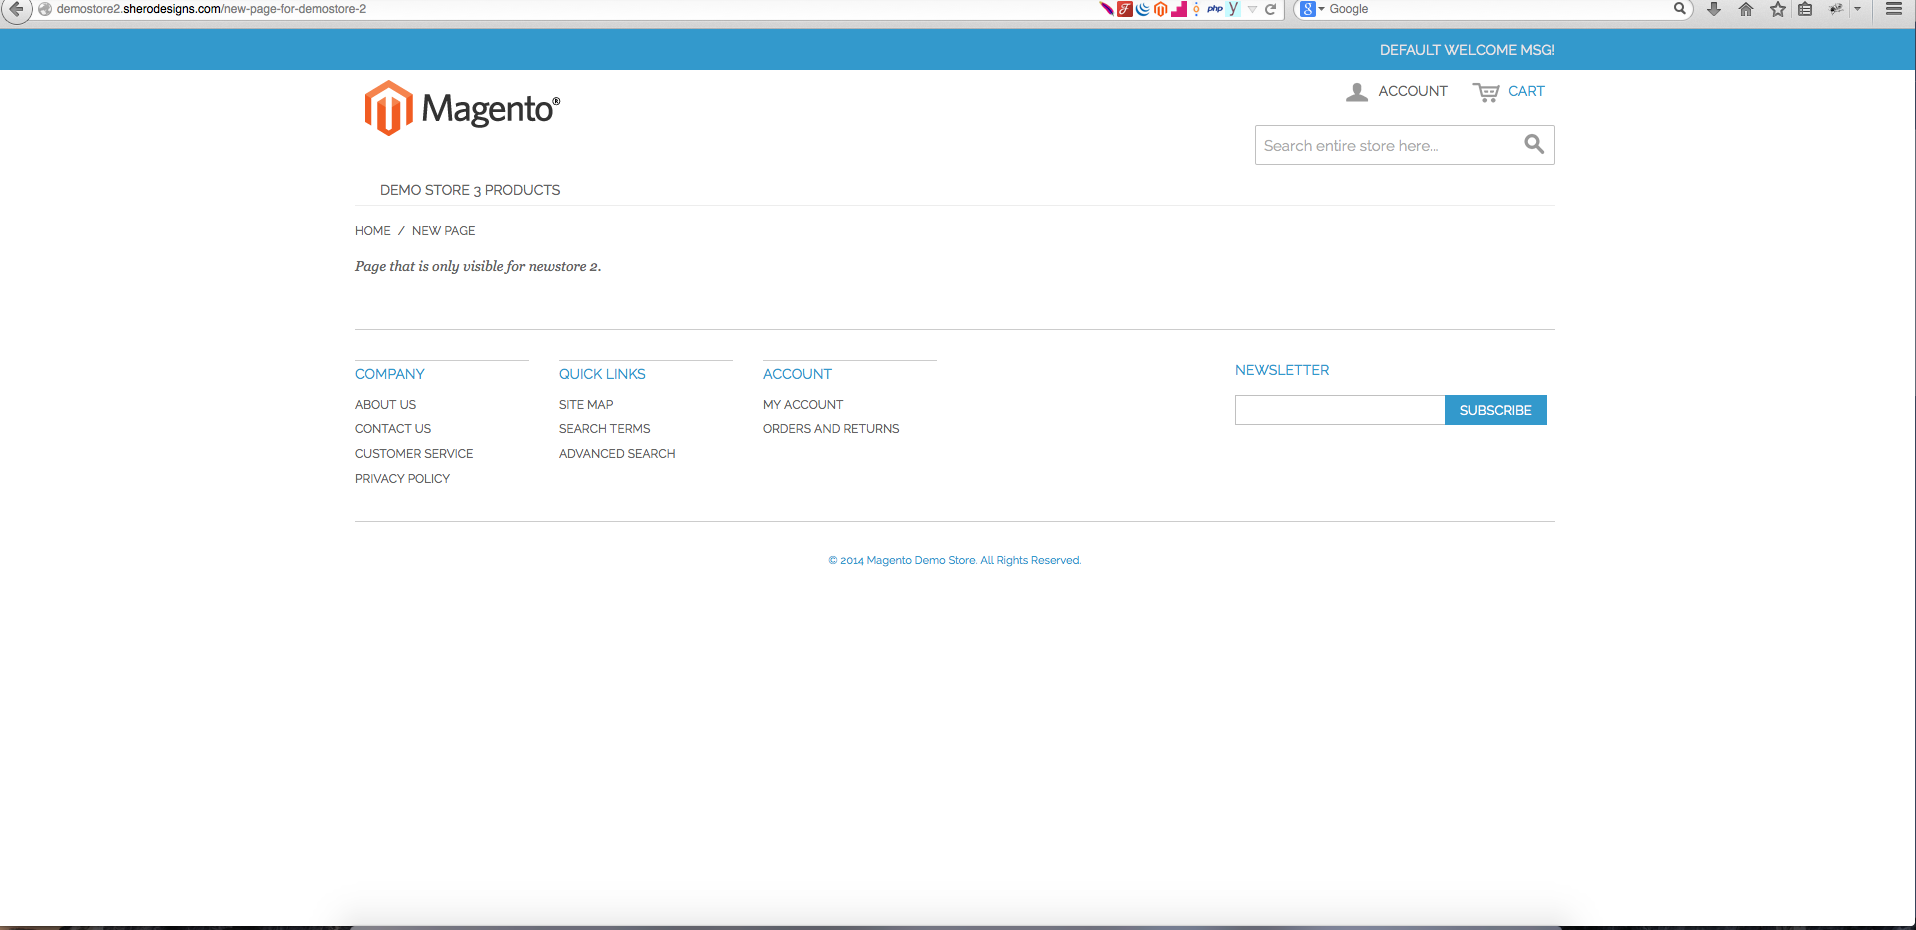
Fourth, load the unique store view’s domain name in your browser along with the url key of the CMS page and you will see your page. If you replace your domain with another store view’s domain, you will see a 404 page because that content is not assigned to another store view.

How To Bring All Magento Multi Sites Together
Now that you know how to create unique store views for each website, and apply content accordingly to each store view, the next important step is making sure Magento can load all of these websites in one installation. While this is technically out of scope, I want to provide you with information on how we handled this for one of our clients. A great summary of 2 options you can use are provided by Nexcess. If you use Nexcess, they can perform these steps for you. Your current web host shoud not have a problem performing this either. Check out this multi store setup reference and scroll down to the bottom of the page to see what I am referring to. You basically have two options. Of the two options they discuss the one we used:
Method 2: Shared Directory For All Stores Using Secondary Domains
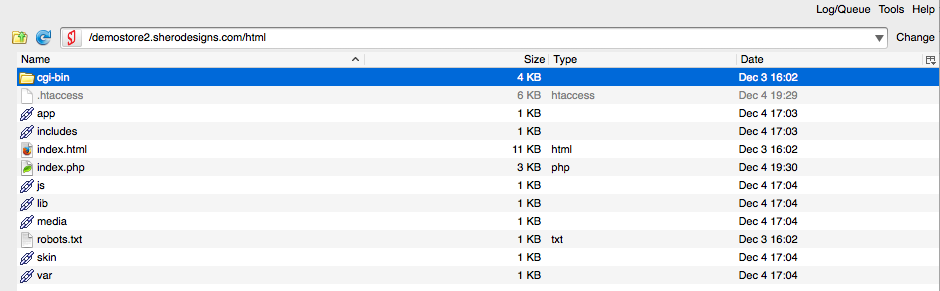
By creating secondary domains, we are basically adding sub domains that have a file space created for them that link up to the main Magento installation. For example, for
demostore2.sherodesigns.com, a separate folder in our Shero web space is created and it contains an index.php file, an .htaccess file and all of the Magento folders. Unlike a standard Magento installation, though, it has their folders ‘link up/point to’ the main Magento installation. See this screenshot:
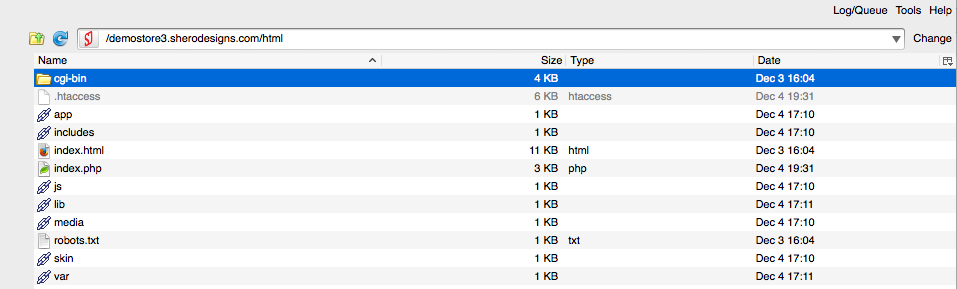
Here is the FTP file space of the other sub domain, demostore3.sherodesigns.com
Here is what the main Magento installation looks like:

Setting All of This Up Properly – A Checklist
Most of the steps required to set up a full Magento multi site store can be accomplished by you. With that said, there are some technical aspects to this that only your web host can handle. Below is a summary of the tasks you are responsible compared to what your web host is responsible for. I am also including some simple tutorials to make this process easier for you.
Tasks You Will Perform
1.) Create Secondary Domains
Consult with your web host on how to do this. They will either do this for you or walk you through it. Here is a tutorial that explains the process. Each web host will have a unique form for you to use but the concept remains the same. Once this is done, you need your domain registrar, the company who you purchased your domain through, to create an A record. While you can consult them with help, here is a tutorial showing you how to do it once you log into your domain registrar’s control panel.
2.) Create The New Stores/Websites In Your Magento Admin
As shown in this article, you need to create these store views for the domains to know what content to load in your Magento site.
3.) Set The Base Url For All of Your Unique Store Views/Secondary Domains
Here is how I set it up for the demostore2 and demostore3 websites:

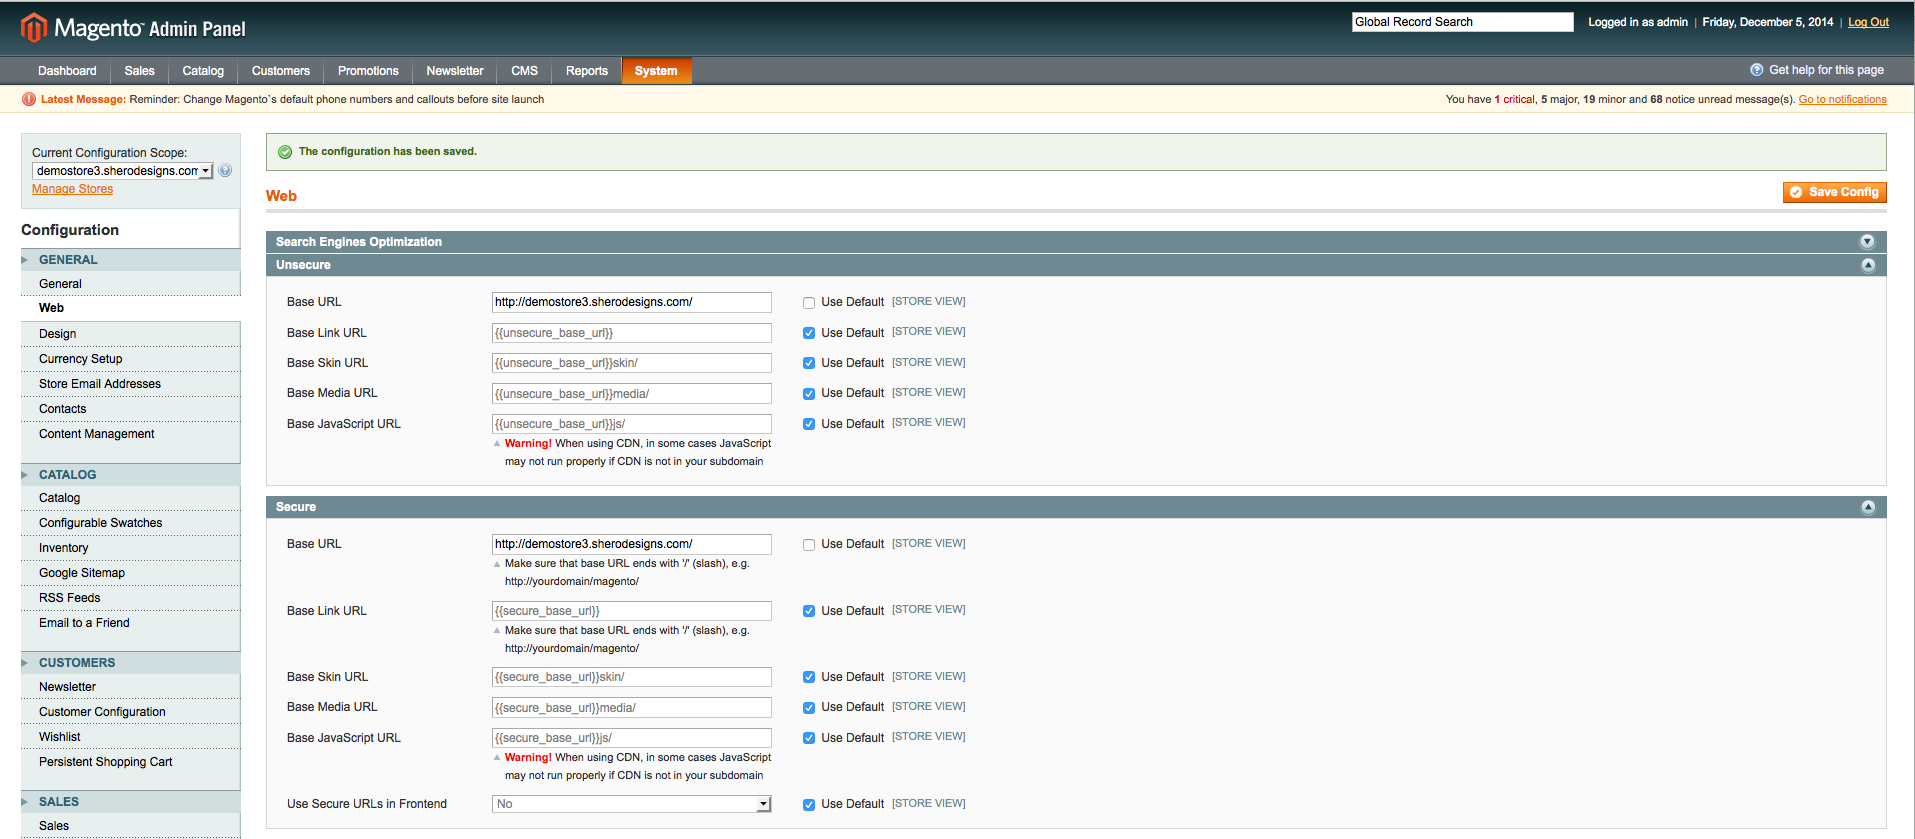
You need to go to System –> Configuration –> Web for each store view and remove the checkbox for the ‘base url’ for both the Unsecure Url and Secure Url sections. For each secondary domain you do this for it ensures, once you have created your a records, that these domains will load properly when you visit them. Otherwise, if you do not do this, the browser will redirect to the url of the main Magento install.
So, What’s Next?
In part 2, we will go over setting up unique design themes for your other store views to ensure a unique look and feel for each website associated with your installation.
Summary
This may seem like a daunting process at first but it is really quite simple. Just view each store view as a unique website for Magento to serve content for. Each domain has a store view and a code that offers a unique identifier for Magento to juggle all of your content for all of your stores. Maybe consider testing this process on a development site which can be a clone of your live site. Your web host should offer this service for a nominal fee.
Warning: One issue we have noticed can happen that can cause problems with your URLS is you have to tell Magento, when you are ready to load live domains, is to NOT add the ‘store code’ to your urls. If you go to System –> Configuration –> General –> Web and look at the first section, you see this option:

This is important to keep at ‘no’ when live because otherwise your domain would append /storecode at the end of your base url for that store view. In other words, imagine I want to load demostore3.sherodesigns.com but I did not choose ‘no’ for ‘Add store code to url’, I would find my store wanting to load as:
demostore3.sherodesigns.com/demostore3
Make sure to prevent this from happening before you go live with a multi site install.
Next Magento multi store tutorial will be coming soon
Magento Development Lead


