Time and time again I see that within new Magento implementations shipping functionality is near the top of everyone’s ‘most unsexy practices‘ list. However, shipping is undoubtedly one of the most important configurations and portions on your eCommerce website and overall business.
In this blog post I will show you how implement live/negotiated rates from UPS within Magento Commmunity and Magento Enterprise Editions.
To setup the XML option for UPS rates you will need to attain a UPS shipping account. You can get an account by clicking here: UPS.com, and clicking Register. When you have your new account you will need to attain some information. You need 4 pieces of information from UPS to make your negotiated rates work in Magento. If you need additional help feel free to contact your UPS representative or contact UPS support to gain access to your needed personal information.
The information that Magento needs:
- Access License Number: YOUR ACCESS KEY (I’ll show you how to get it below)
- User Id: Your UPS User ID (that you use to Login to UPS.com)
- Password: Your UPS Account Password (that you use to Login to UPS.com)
- Shipper Number: Your Shipping Number (6 Digit Number which looks like “A924F2”)
Now, the last three items in the list (UserId, Password, Shipping Number) will be pretty easy to get; in fact you probably already know them if you have a business that has been using UPS for shipping. However, I have seen many clients get hung up on the first item. The dreaded Access Key (dun dun dunnn).
To get all that information needed to use Magento and your custom UPS rates follow these easy steps:
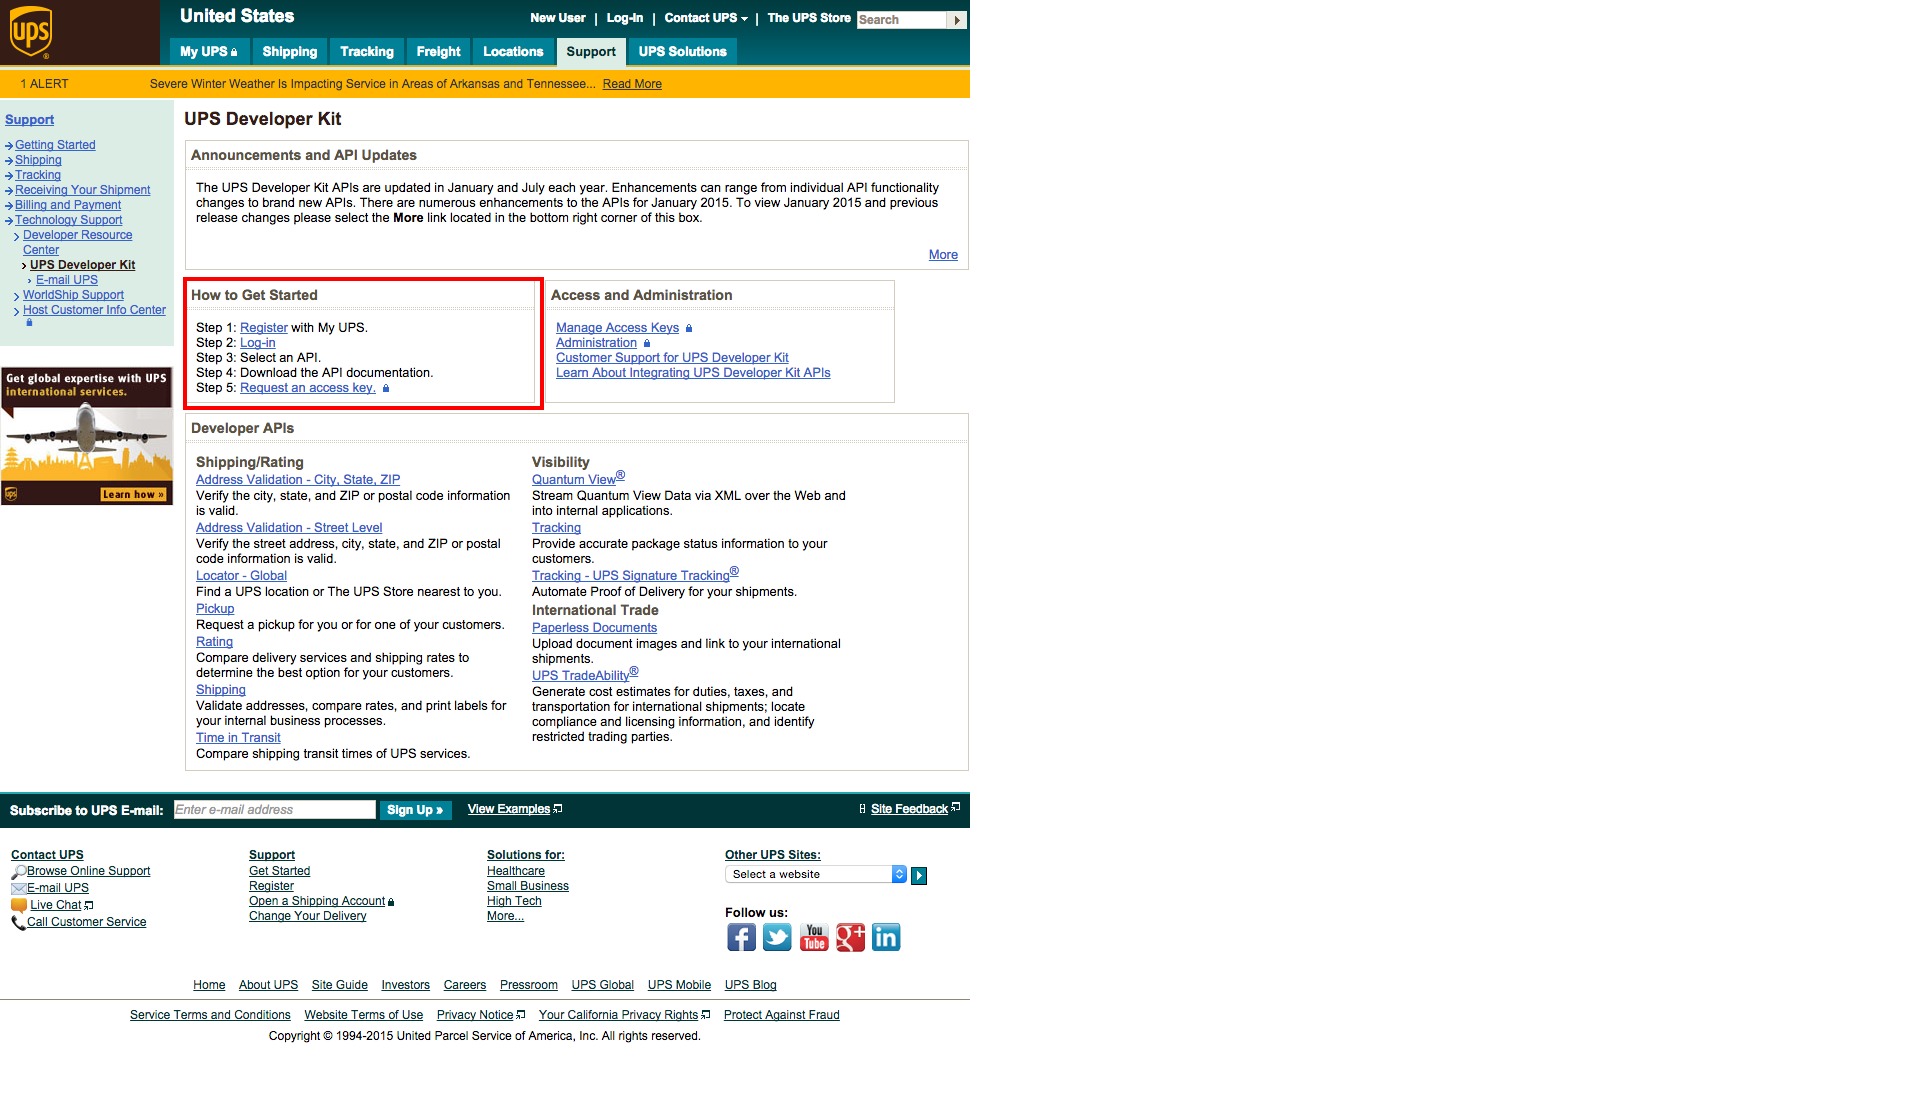
- Browse to https://www.ups.com/upsdeveloperkit.
- Click on the “Register” link inside the “How to Get Started” box. (if you already have a UPS account skip to Step 6)
- Look for the “Submit Your UPS Registration Information” box, and enter your name, e-mail address, User ID and password then click next.
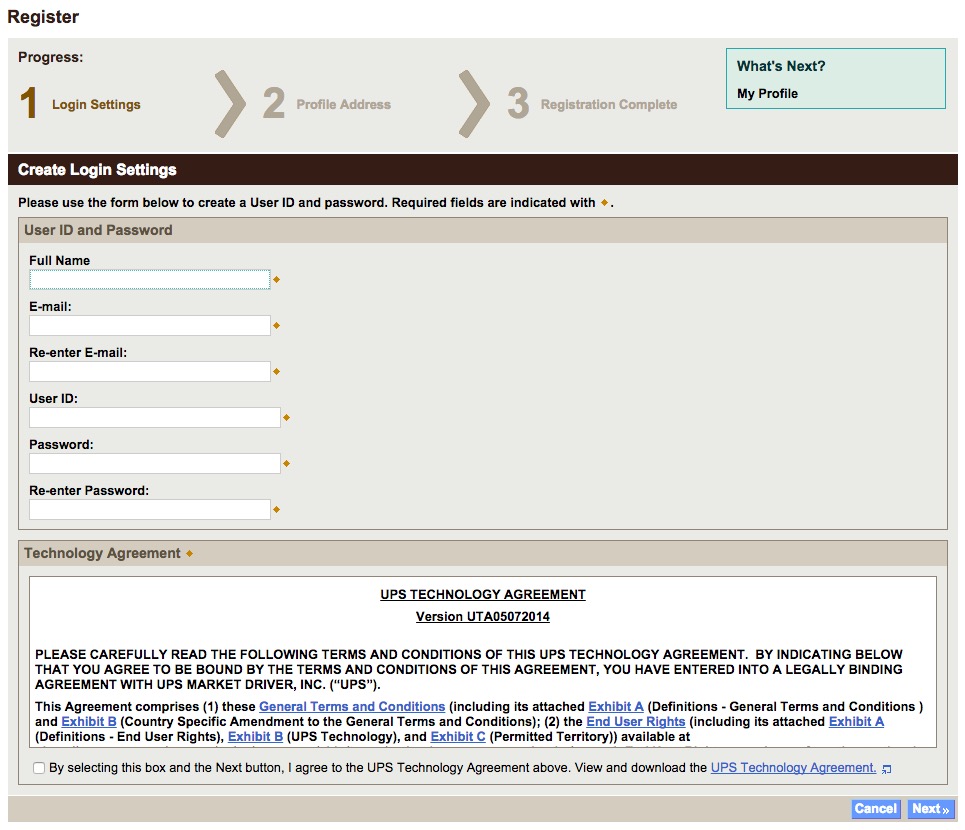
- Complete the “UPS Registration” window then click Next. You have now registered for a UPS Developer Kit and Account.
- Great job, you just registered. On the “Thank You!” screen, click Next.
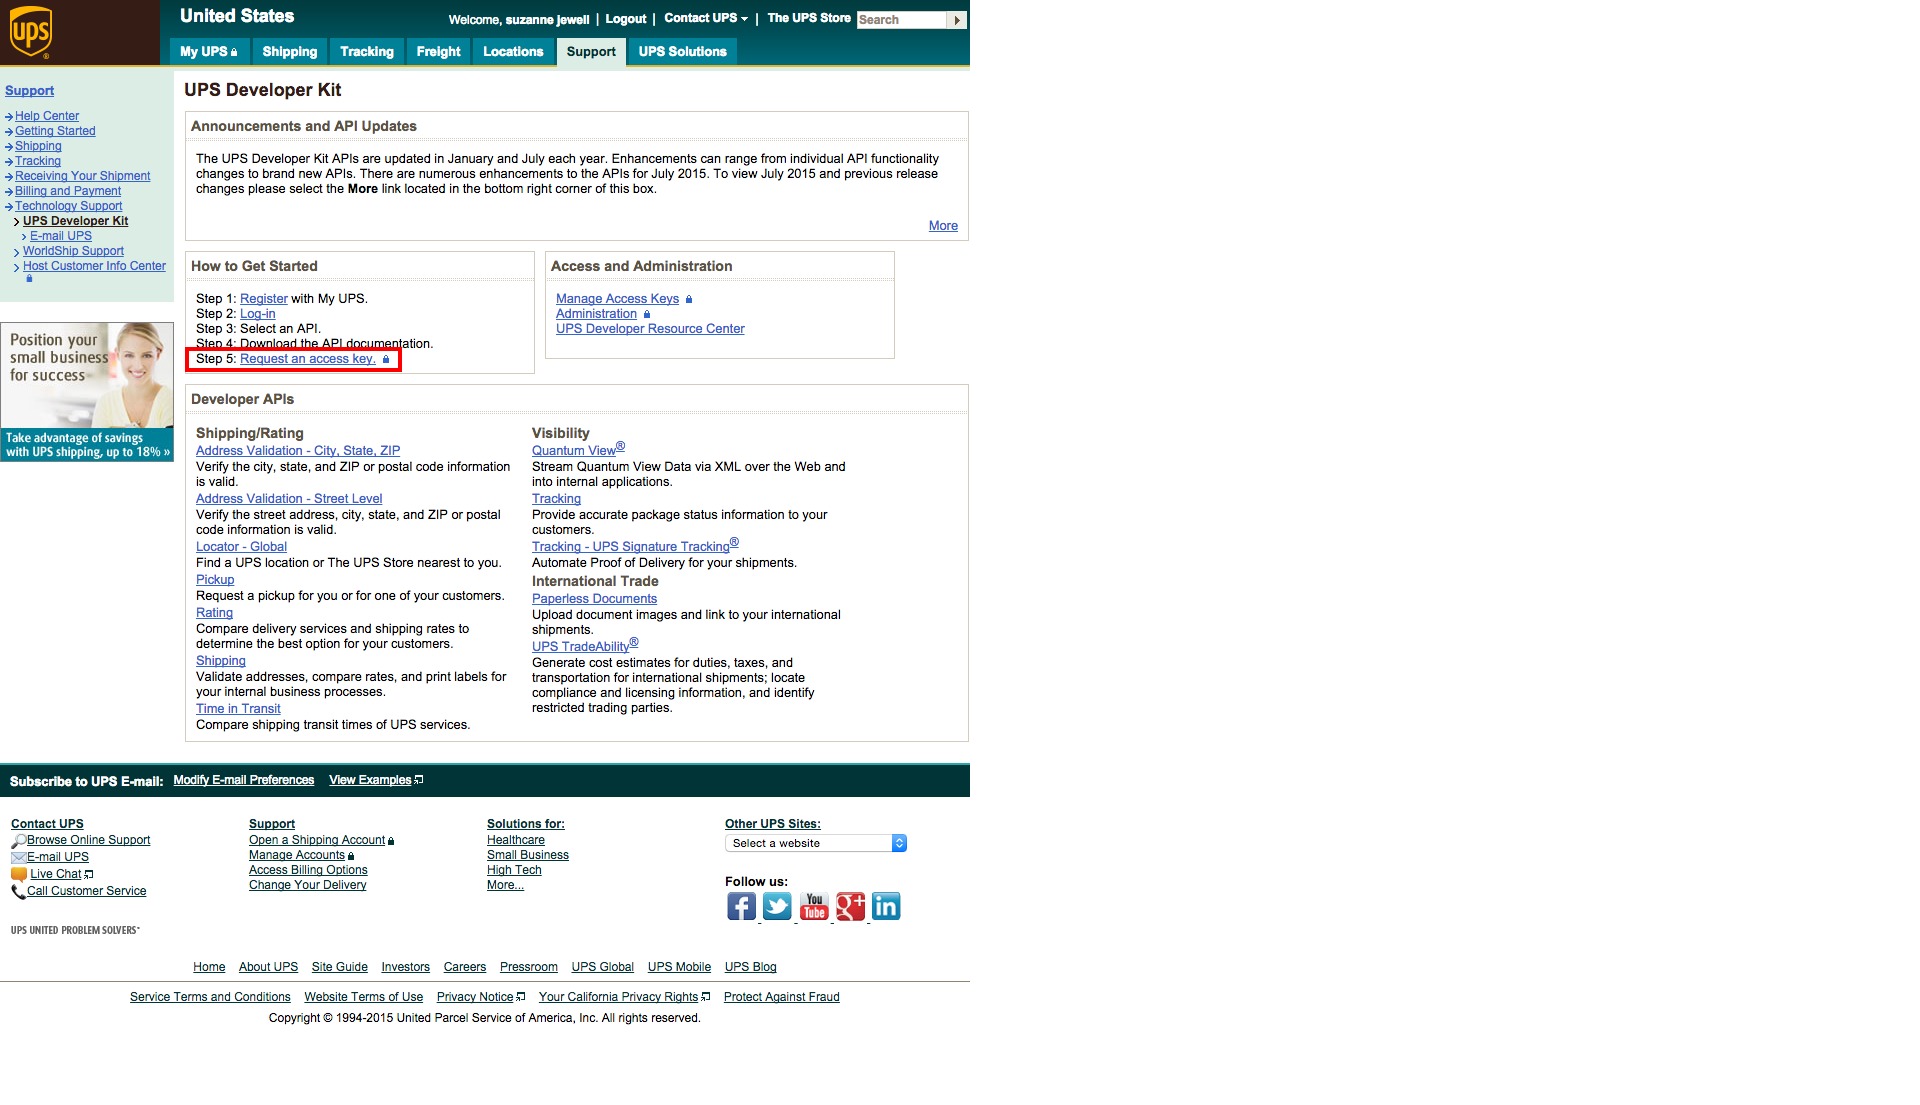
- Click on the “Request an access key” link in the “How to Get Started” section. If you are already logged in you will see a new screen. If you are not logged in you will need to use your UPS login to sign in.
- Review the primary contact information and make sure everything looks good (I redacted information for posterity). After that review the secondary contact information and confirm it.
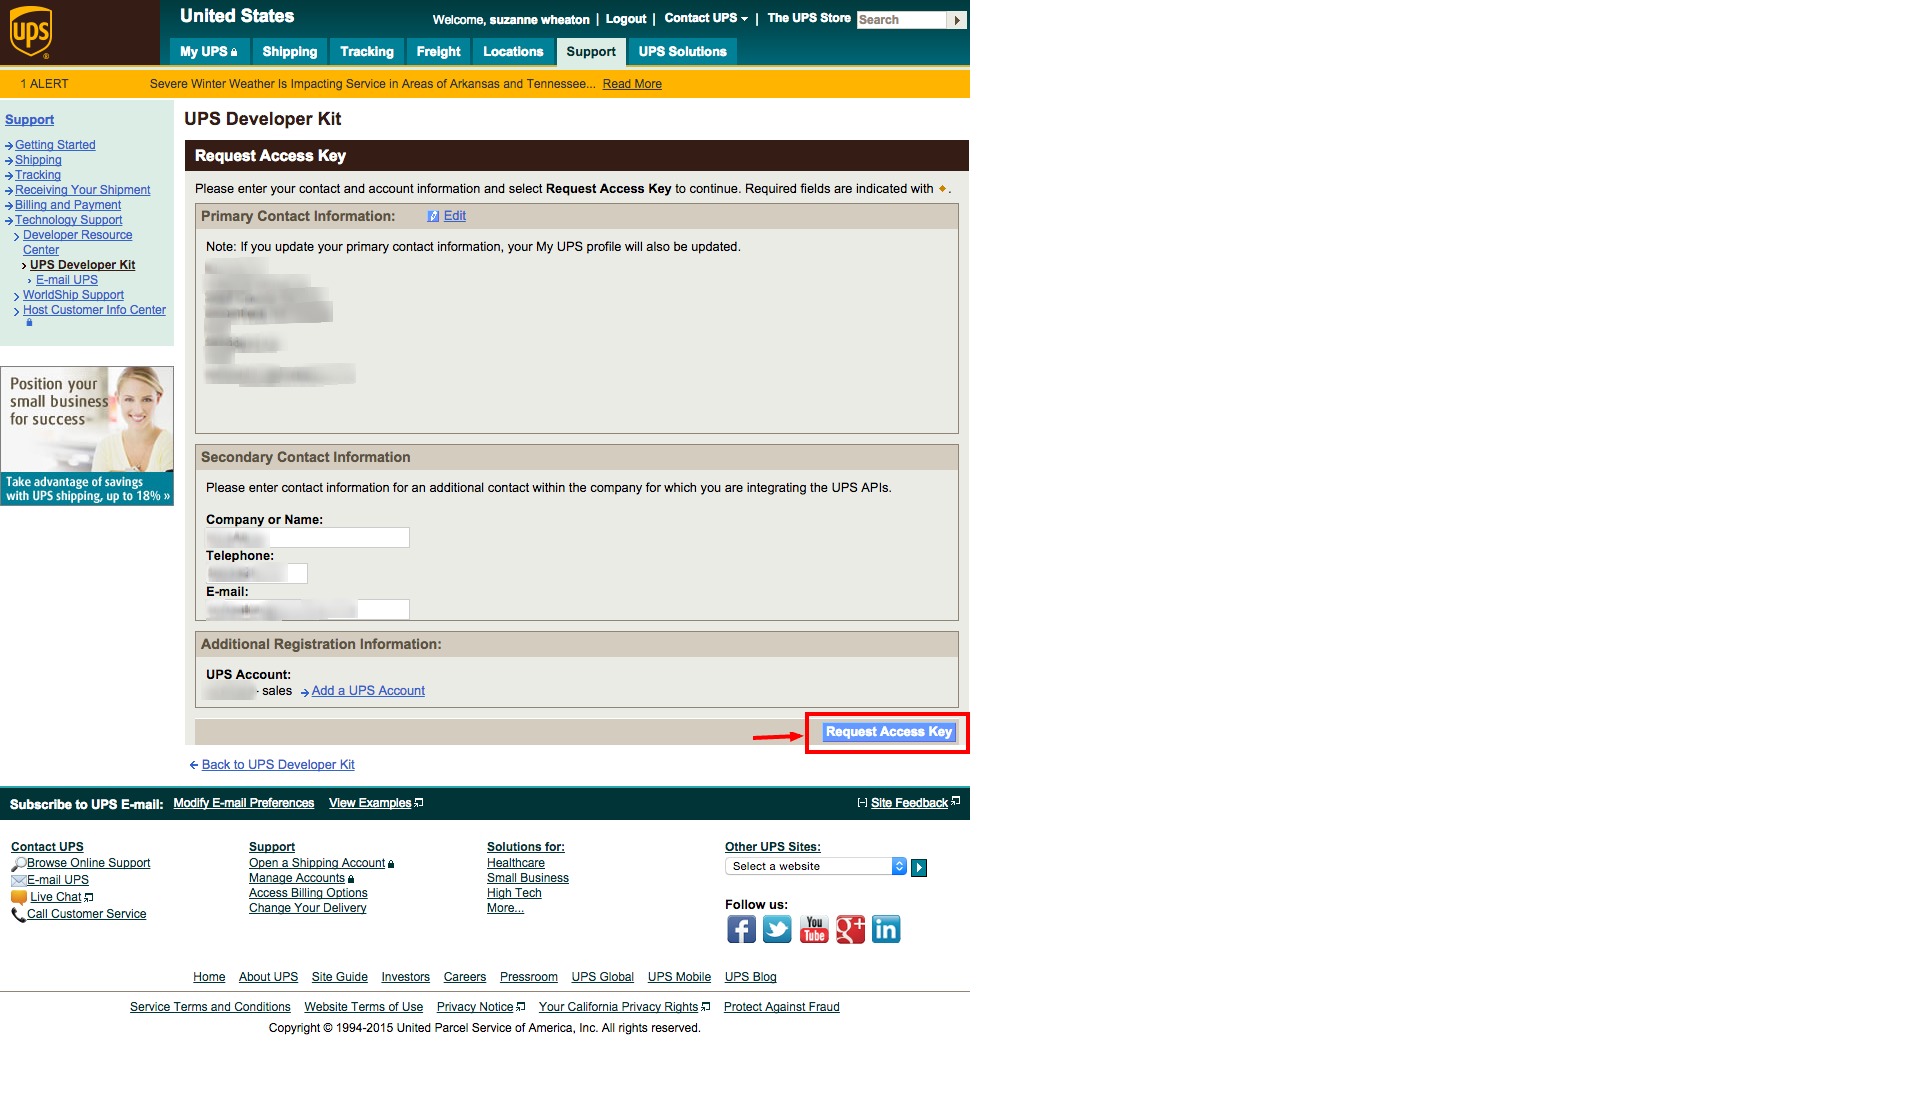
- Click the Request button and move to the next screen where you will find your Magento UPS XML Access Key.
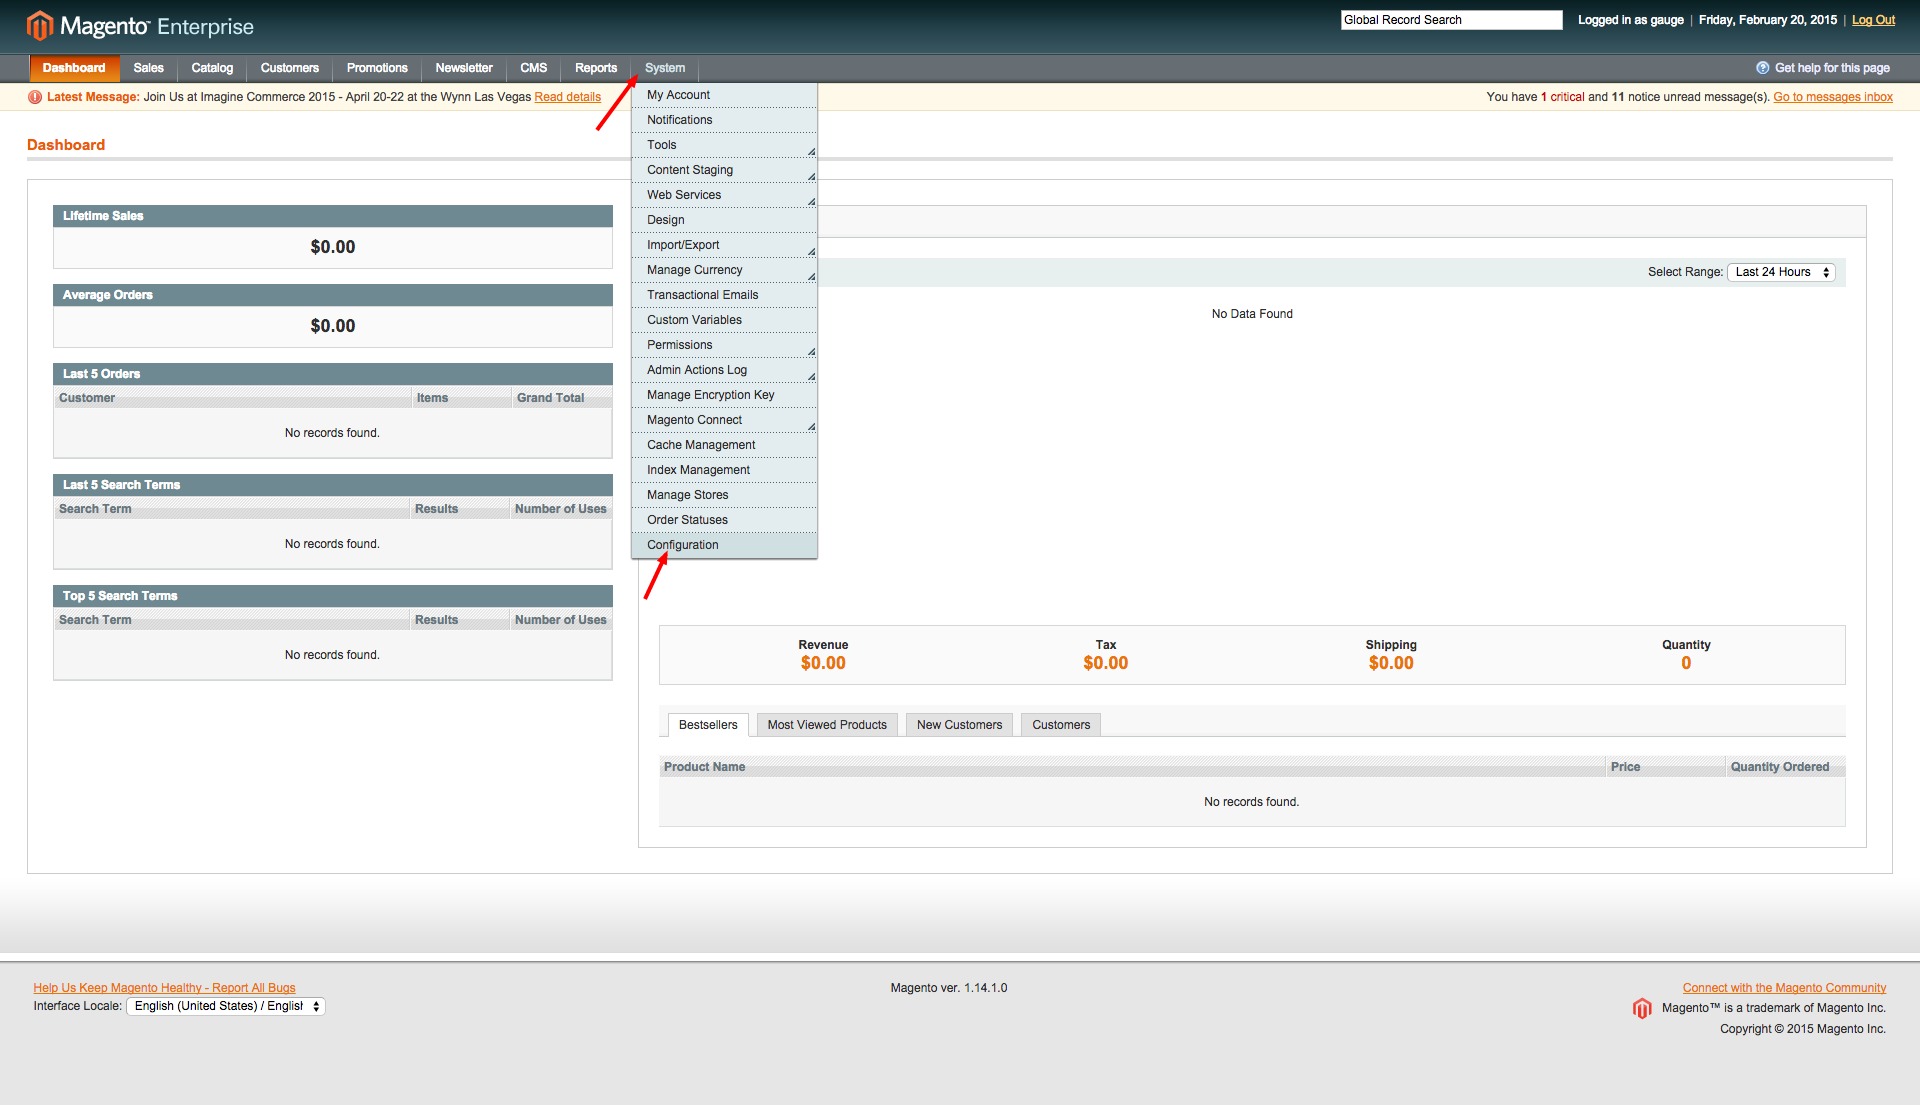
- Move back to Magento now and navigate to System>Configuration.
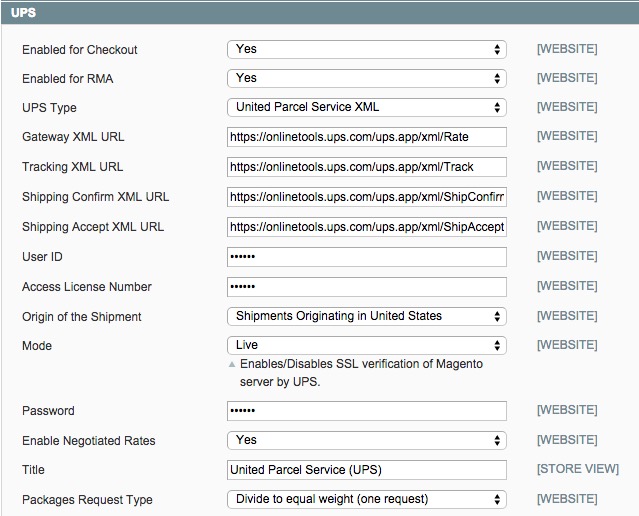
- Navigate to Sales>Shipping Methods>UPS and insert all of the required UPS information and hit save. YOU’RE DONE!

Support for M1 is Ending
When support ends for Magento 1, you will not only lose support, but could find yourself no longer PCI compliant. Let us help you figure out your next step.
If you have any more questions feel free to ask them in the comments and we can help out as best we can. Stay tuned for more Learn Magento sessions in the coming months.